Monday, August 20, 2012

personalized place mats

My living room table used to be in pretty poor shape and was in need of a make over but since we were still living in an apartment it was difficult for me to start fixing up the table in our living room. Now that we've moved I've stripped the table and re-varnished it, it looks so much cleaner now. Before fixing up the table I knew that once it was fixed I'd want to protect the table while we'd be eating so I decided to go for place mats....but there aren't any cute place mats out there!!!
So make your own I thought:)
I bought a bunch of really cheap 1 euro a piece bamboo place mats and got to work.

 First I put a coat of white craft paint over the entire surface of the mat (just the front side).
 Then I used my silhouette to cut out the stencil I wanted.
 I was going for a shabby chic look so I filled the stencil in with light gray paint. Later I went back and added a small stencil on the bottom right hand corner because of course I noticed that the plate would completely cover my first pretty stencil....
 I also got a new table cloth which I think adds a lot and makes it look romantic. the side board in the back of the picture was repainted a couple weeks ago, it used to be a muggy brownish color before.
 I love my new place mats, oh I did add a coat of clear varnish just to seal the whole thing. you can wipe these down pretty well but I made the mistake to serve curry once and my son spilled half his curry on the place mat....curry does not come off these mats, I ended up rubbing so hard I took off the paint:(
 This was a fun project, I love having personalized place mats, the 2005 in the right hand corner is the year we got married by the way:)

Thursday, July 5, 2012

guest post

I know it's been  a while but I do have a good excuse, we are moving again! We are moving back to France in two weeks so things are a bit hectic here and I can't wait to be settled into our new place! In the mean time I am doing a guest post over at 'The married life'  which is my sister in laws blog. She's doing a so you think you can't craft marathon! such a great idea and I am very happy to be apart of it so go on over and check it out, she's got new guest posts every day! So head on over to Iris's blog!!

The Married Life

Sunday, June 17, 2012

Father's day gift

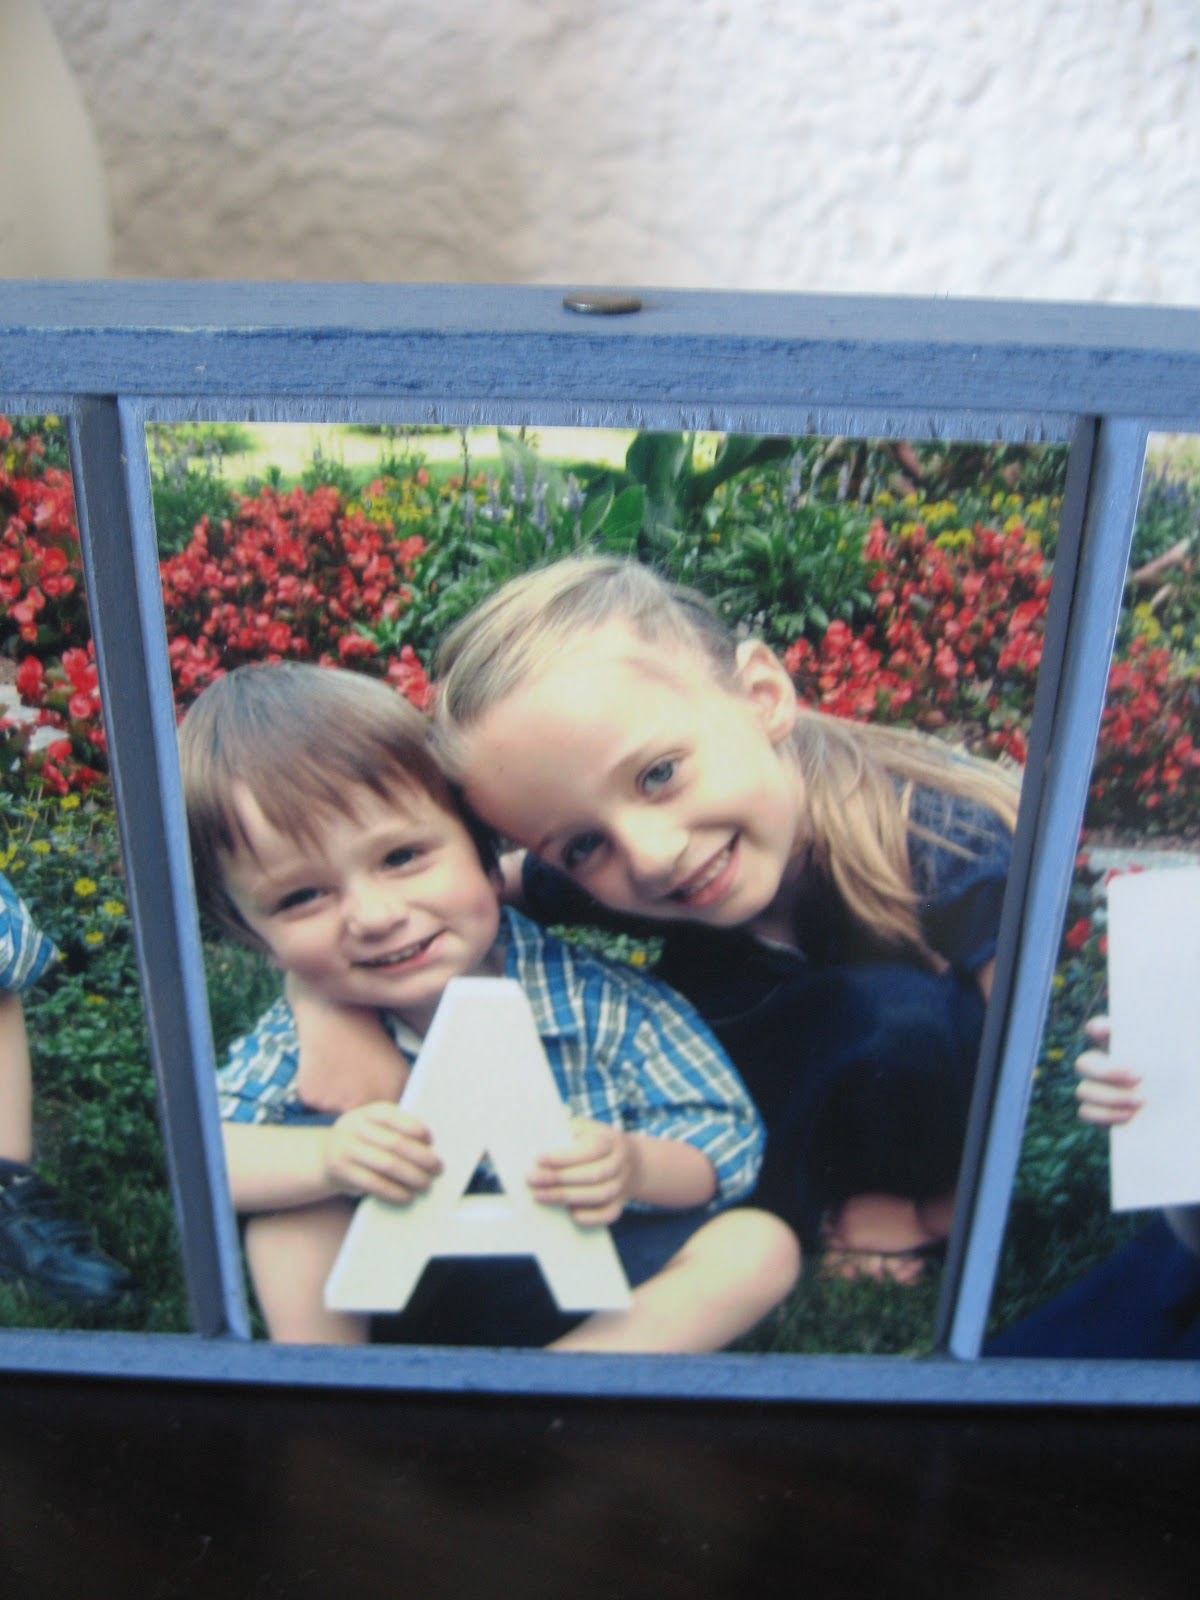
First of all, Happy father's day to all the Dads out there!! This year I had the kids get to work for their dad, I bought those white letters and took the kids to a park to take some nice pictures.

 I had a friend make the pictures a bit vintage looking and had the pictures developed. I had wooden blocks cut at 10.5cm X 8cm, I painted them and glued them together.
 I used my hand saw to cut this pieces of wood to act as a frame around my set of blocks. I painted those dark blue first and then light blue so I could distress them and have the dark blue stick out a bit.
   I then used dark gray vintage looking nails to hold the frame around the blocks.
 I'm glad the pictures turned out cute and my husband really likes his new desk decoration:)


Monday, May 28, 2012

Travel pics

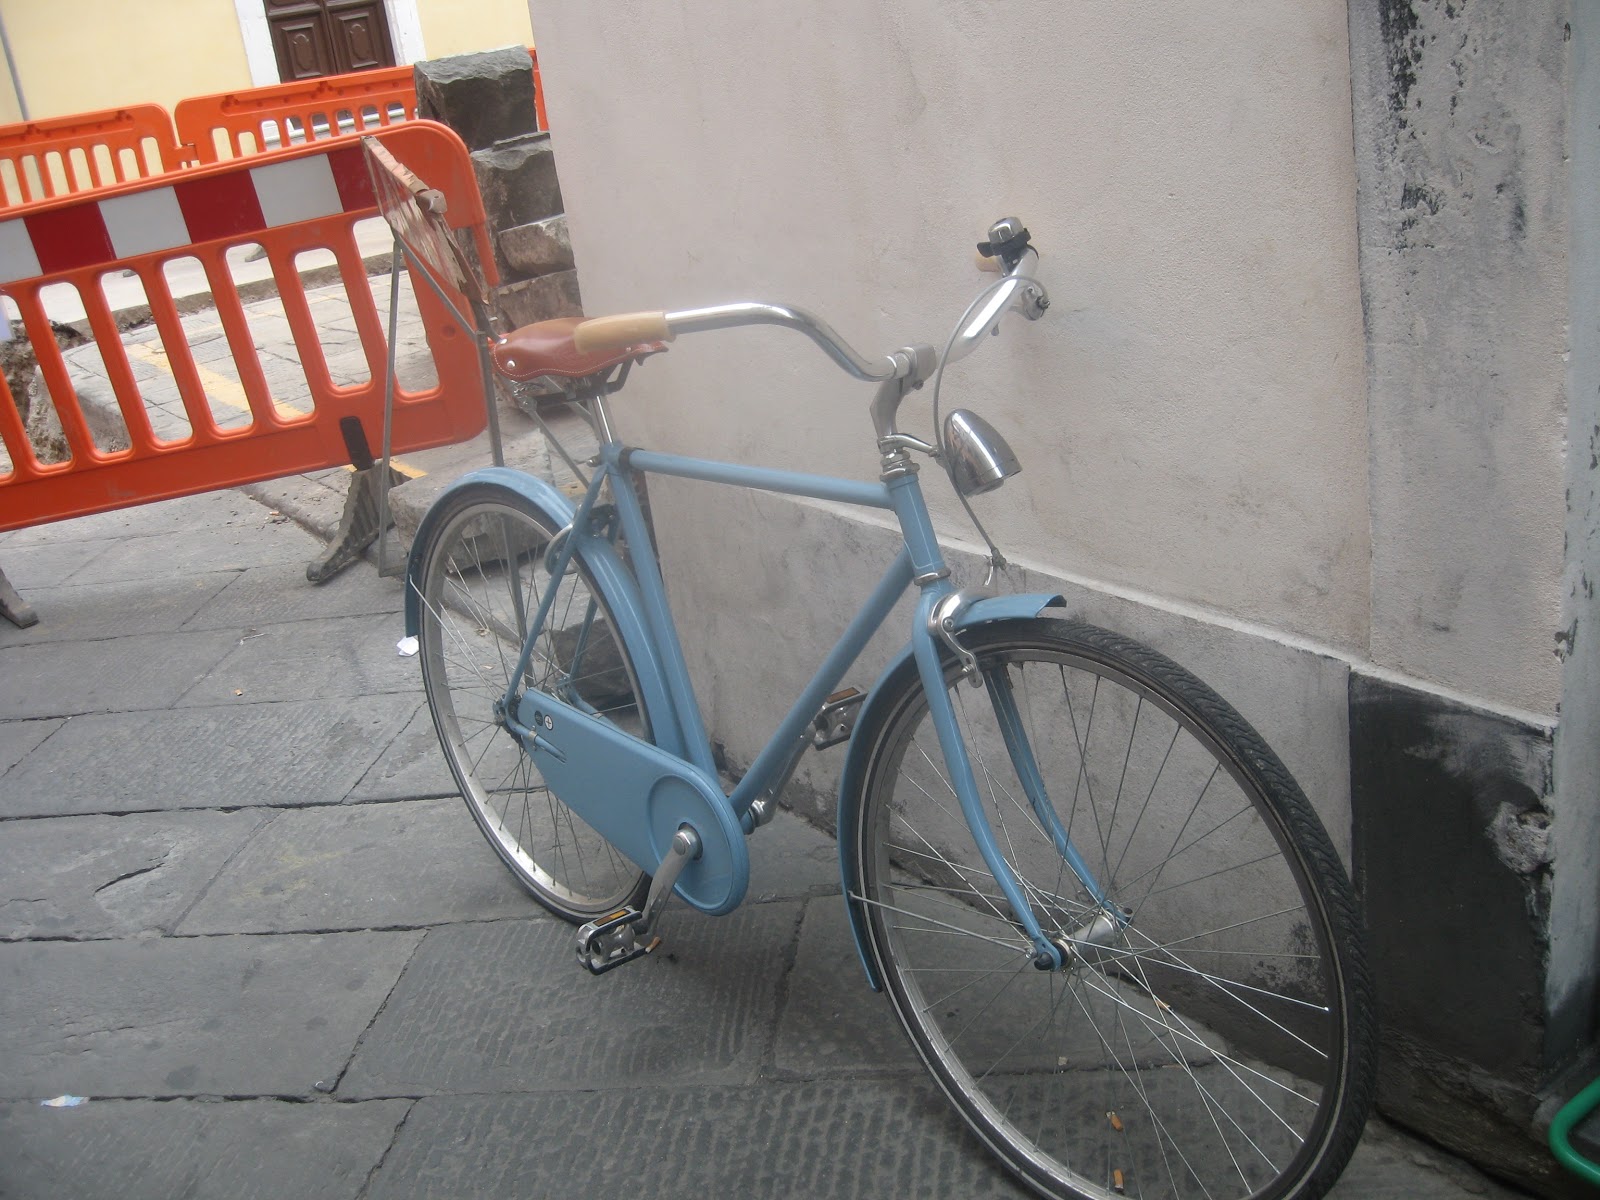
A week ago we got back from a trip to Tuscany in Italy, it was gorgeous! On our third day we visited a mid-evil town called Lucca before heading over to Pisa. One of the things I loved about Lucca were all the bikes leaning against old walls and gates. Vintage perfection!


Tuesday, May 15, 2012

One more felt hair clip post:)

The other day I remembered that I had more flower die cuts that I hadn't used to make hair clips with so I got to work, and I LOVE the finished product!!

 I used the spellbinders 'Rose creation' set and the sizes that I used are the two smallest orange ones and the darkest flower on the cover of this set.
 I used my grand calibur to cut the biggest flower die twice and the the two smallest ones once each. You'll also need a button, a simple hair clip and of course some felt for the leaf.
 first stack the flowers together, I went from biggest to smallest. Then glue the button to the middle of the flower and add the leaf to the back of the flower. I used my glue gun once again to put the whole thing together.
 Hot glue to the hair clip to the back making sure that the top of the clip is completely covered by the flower, as shown in the picture below.
 Then go buy felt in all different colors and make tons of these little flowers!! Enjoy!

Friday, May 11, 2012

Surprise birthday party!

This week I've been busy preparing a surprise birthday party for a dear friend who's in charge of the playgroup my son and I go to. She is such an adorable person and I wanted to do something nice for her for a change. When the weather is nice we usually meet at the playground so I went early and decorated the picnic area.


 I made this happy birthday banner (I'll post a tutorial soon!).
 And these cute tissue paper pompoms, check out this link to see how I made them.
 I made cupcakes and had all the other moms bring some food to share, there was tons of food!

 I made a wooden sign with her family name on it like I showed in my previous post (the red sign) and I made some cute felt hair clips for her cute daughters (I'll be posting a tutorial on those too).
 She was so surprised! We all had a great time and I'm so glad we had awesome weather for the party!!

Wednesday, May 9, 2012

more plaques

 I've made 4 plaques this month already, I'll be sharing 3 with you today because I still have to send the 4th to a friend and I dont want her to see it on my blog:)
This first sign was my favorite to make because I love the colors and the distressed shabby chic look. I made it for someone in our ward at church. Finding the right fonts is always what takes most time I find.


This cute little owl sign was for a friend who had her first baby about a month ago.
 The 3rd sign is for a friend that I'm organizing a surprise birthday party for (she doesn't have facebook or know about my blog so I'm not spoiling the surprise!)