Friday, March 23, 2012

I won a prize! plus 2 cards...


About 3 weeks ago I won a competition over at http://waltzingmouse.blogspot.de/, they had 9 new stamp releases and I won ALL 9 of them:) They arrived in the mail at the beginning of the week while we were out of town so I only got to start playing with them yesterday:) Aren't they gorgeous? These stamps are such great quality and I love all the stamps sets that coordinate with spellbinders dies!

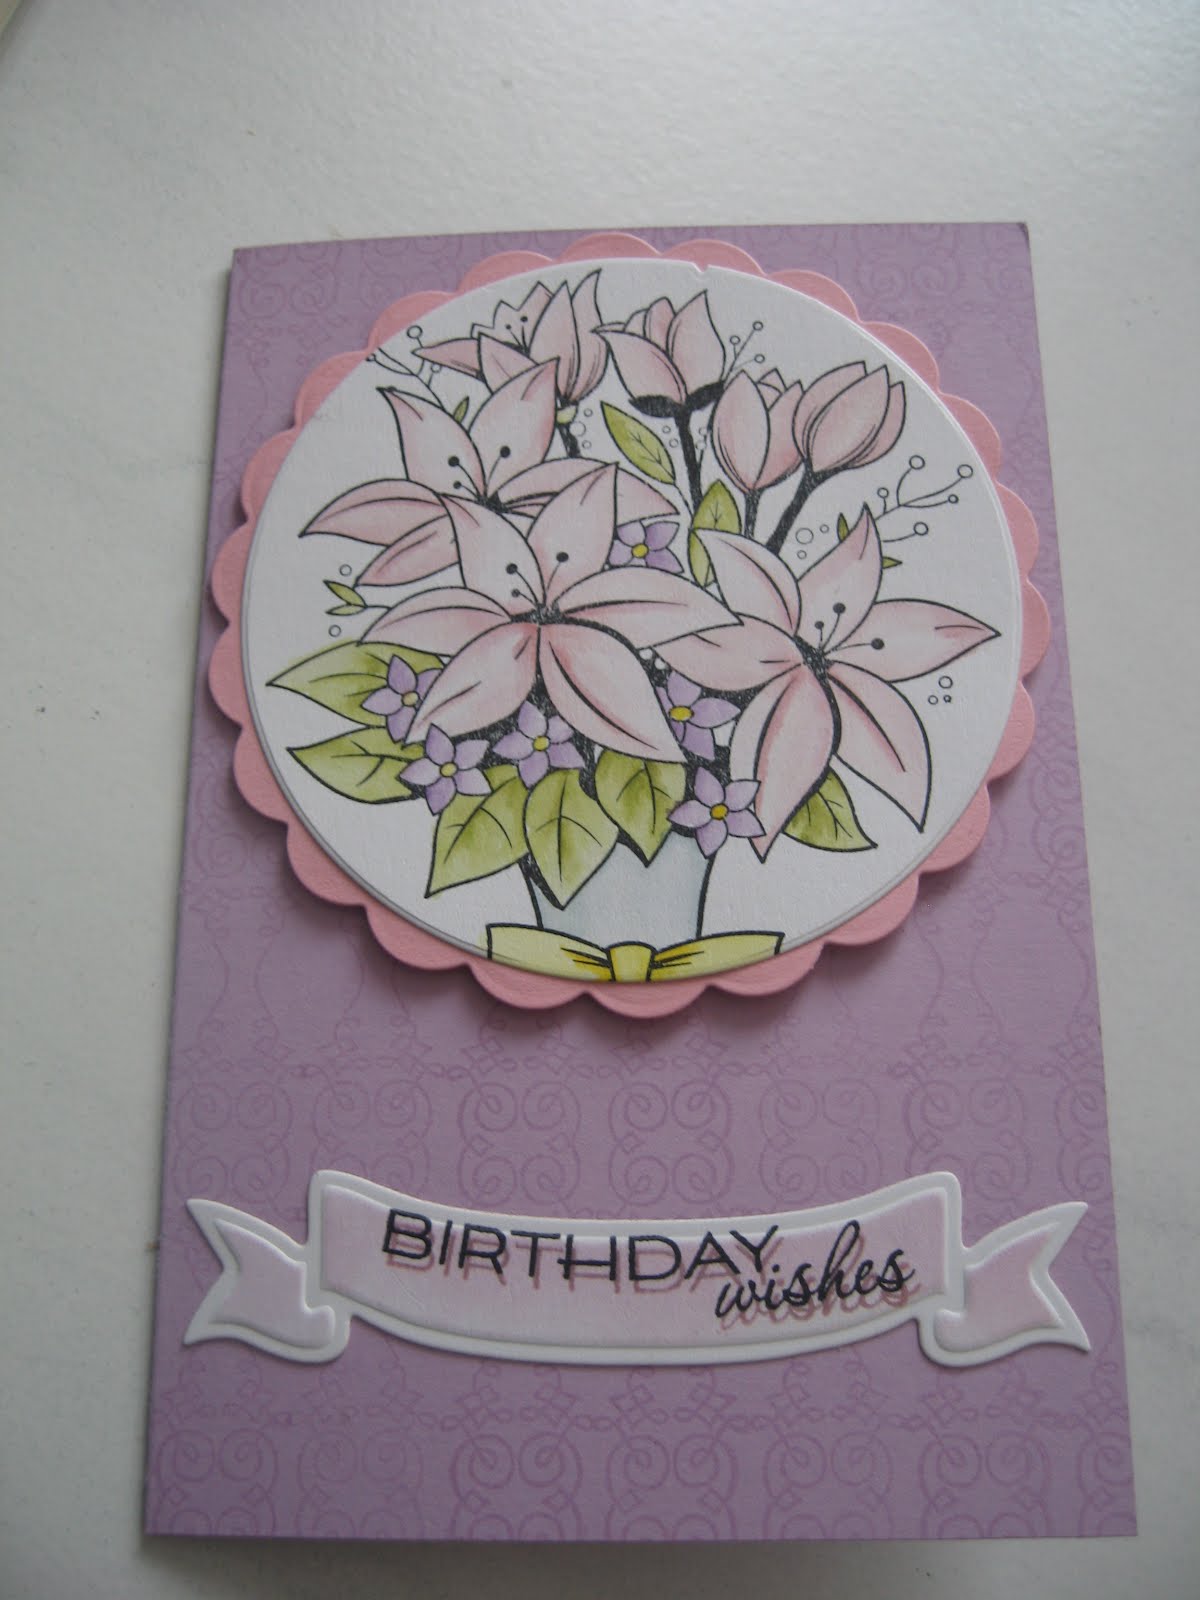
So I made one card using only the stamps that I won and I love how it turned out:)

The main image in this card is a cling stamp from Inkadinkado, it's really big so I left out part of the vase and colored it in with my distress inks. You can't really tell but I used one of the stamps that I won to create a background on the card base using versamark.
Tuesday, March 13, 2012

Mini album


My Grand-ma's birthday is coming up and since it just gets harder and harder to know what to get for my grand-parents I decided to make a scrapbook mini album. It's actually a wallet mini that I saw on youtube, I just made it a bit smaller.

I love it because it's very compact and I managed to fit a lot of pictures in it. It measures about 10.5cmX12cm when closed and mine is about 1 cm thick with all the pictures inside.

It has lots of flaps:)
I didn't use any scrapbook paper, instead I almost only used cream paper which I dry embossed with the cuttlebug and entirely inked with distress inks. It is definitively more work this way but I dont own a lot of scrapbook paper since it is so expensive here and I didn't think any of the papers I had would work for a mini album for my Grand-ma. I'm always proud when I can make a card or scrapbook project without using scrapbook paper:)


In the end I covered the outside of the mini with contact paper to protect it from ripping and I added a little Velcro half circle to open and close it. Enjoy!

Monday, March 12, 2012

Message board redo

I've been trying to function without a message center/calendar for the past 6 months...and it hasn't been working for me. I finally took the frames I was using in our old apartment and repainted them.

Finding the right place to put them wasn't easy, I had to put them in the hallway next to the front door where there is absolutely no light.
you can't tell but I actually embossed the paper in the two smaller frames using nice swirl stamps and sea foam embossing powder. I'm so happy to finally have a place to write down notes without loosing them:) I couldn't find a whiteboard marker so I bought a non-waterproof marker which is great because I can't accidentally rub it off but it comes off really easy with water.


Friday, March 2, 2012

More spring décor

I found these amazing branches at the market down town this week and couldn't resist buying two branches which only cost me 2 euros, the vase in this picture doesn't even hold half the branches that I bought.

I love this vase, I got it on clearance in Switzerland at Migros-Do it, Coop also has some amazing stuff sometimes and the prices aren't always insane (for Swiss standards).


I love this display, I think it looks fresh and alive:)

Thursday, March 1, 2012

A banner for my daughter


So the other day I finished the banner for the relief society room and while I was at it I decided to make one for my daughter.
I was playing around with the spacing of the pennants, I think I like them a bit further apart better like in the picture above.

I used the silhouette to cut out the letters but I used my cuttlebug to do the rest. I used the largest nested pennant die from spellbinders, lacey circles (spellbinders) and Spellbinders Parisian motifs. I'll have to get to work and make one for my son soon:)

Tuesday, February 28, 2012

Easter plaque

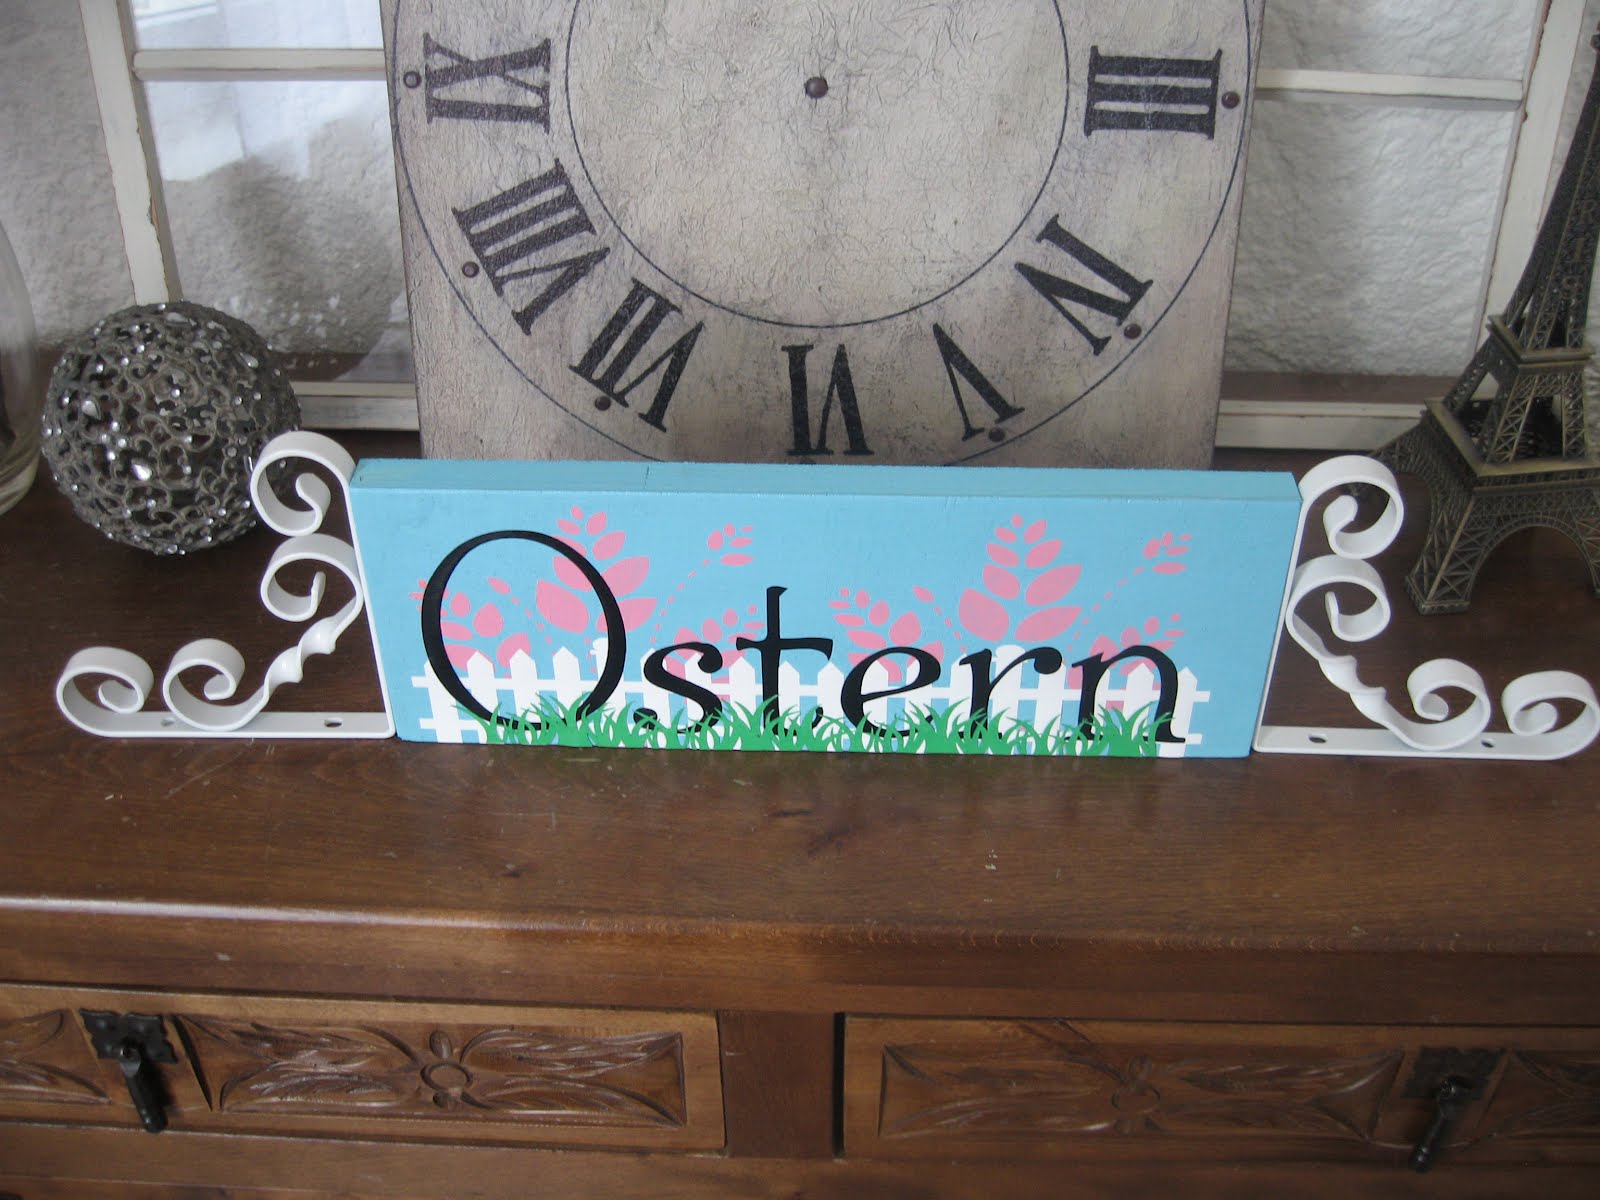
Here's a sign I made for the relief society room at church. Since we live in Germany I had to make the sign in German. This plaque was easy, there was no molding involved for once:)

I found a piece of wood in my wood stash that was perfect for this project, it measured about 11.5cm x 32cm. I used the leftover paint from the eggs I painted from the previous post.

I used my silhouette a lot for this project. I made a stencil for the background which I filled in with pink paint.

I then used my silhouette to cut out a white picket fence with white vinyl.
I used the silhouette to cut out 'Ostern' in black vinyl.
I didn't have green vinyl so I cut a strip of grass out of green card stock (with the silhouette) and used mod podge to adhere it to the bottom of the plaque.
I found these really cute angle brackets in France at a store called Mr. Bricolage, I didn't attach them to the plaque because I want to be able to reuse them. I love these brackets, I used another pair to hold up a shelf in our kitchen and I distressed them with sandpaper which removed some of the white paint to reveal the metal underneath.

Right now I'm working on a banner to add to the decorations I've made so far. I'll try to remember to take a picture of the finished mantel at church.

Sunday, February 26, 2012

Painted eggs

Part of my new calling at church is to decorate the relief society room depending on the season. Since Easter is coming up I thought I'd get tarted on some decorations. While I was at it I decided to work on some decorations for our home as well. The first thing I did was paint some eggs to decorate some branches for our home and for church. Here's the finished product for our home:

Here's how I decorated the eggs:
I bought 20 white eggs and started by cleaning them with some warm soapy water. Then I used a sewing pin and hammer to poke a hole on either side of each egg.
Then I used a yarn needle to make the hole on either side big enough for the entire needle to fit through the hole.
Once the holes were done I blew out the contents of each egg, if the holes are big enough it doesn't take a lot of time to empty them. Before painting them I rinsed them with some warm water and blew into each egg to get all the water out.
I mixed some acrylic paints to get the color that I wanted. I used wooden skewers which I poked into the egg carton to hold the eggs in place and to not get paint all over my hands. One coat of paint was enough so once it was dry I mixed some white acrylic paint with a bit of water and used a tooth brush to spritz the eggs, be careful this part can get messy!!
I didn't wait for the white to dry I just went and did the some thing with some dark brown paint mixed with a bit of water.
Once the eggs were dry (later that evening, as you can tell from the lighting) I got some thin white ribbon, made a loop and tied a knot at the end.
I stuck the knot through the top whole of the egg and added some glue with my glue gun to seal the hole.


I glued little pink flowers to my branches to add some color.

My daughter found a little bird nest on the ground at her kindergarten which I stuck in between the branches. Enjoy!