Tuesday, September 24, 2013

Rapunzel birthday party part 1

Since we live close to family (we have a big family:) we always have to have two parties, one for family and one for friends and since Megan is born mid-August we try to wait till the end of the month to have her friend party because school doesn't start till the beginning of September in France so mid -August a lot of her friends are still gone.
As you might have noticed from my invitation tutorial Megan had a Rapunzel birthday party. So the colors were all shades of purple, pink and some yellow. For the family I just prepared a dessert table and some snacks.

 I made a happy birthday banner out of cardstock using my spellbinders nestabilities dies and I used my silhouette SD to cut out the letters for the banner.
 I made a big yarn braid for the table and used a lot of fresh flowers from a friends yard, I was so grateful for the fresh flowers that were free:) I made angel food cupcakes....I usually make a regular angel food cake but I wanted to do something different. I dont think I'll make those again though, they ended up all shriveled and wrinkled and the paper tins were just coming off on the sides....I tried to save them from looking too bad but at least they were tasty!
 I made mini pavlovas which have become a big favourite in our family. Here's the recipe I use.

 I found this great whipped cream frosting recipe that I used for the pavlovas and the angel food cupcakes, it held up great and it was light and not too sweet.
 oreo cake pops
 Carmelitas, also a favourite:) You can find the recipe on my blog but I actually found it on pinterest.
 A few salted snacks and some fruit and drinks. I made a couple fabric buntings for the decorations and stenciled gold suns onto them. I got the sun shape for the silhouette off a friend's blog called thefleetingthing, she gives you the link for the shape she created and she has a ton of great ideas for a Rapunzel birthday party along with detailed tutorials on how to sew an amazing Rapunzel dress and treat bags for the kids.

 We love hummus in our family so I cut up some vegetable and used this recipe I found on pinterest to make the hummus.
 Here's a quick overall shot of the living room with the bunting hanging off the ceiling, Ikea lace curtains around the mirror, birthday banner on the mirror and dessert table. See you next time for part 2 of the birthday celebration:)

Linking to:
http://www.reasonstoskipthehousework.com
http://www.lifeafterlaundry.com
http://katherinescorner.com

Monday, September 23, 2013

Rapunzel birthday invitations

My daughter turned 7 this summer, she has very long blond hair and loves the movie Rapunzel so it was easy to decide on the theme for her birthday party:)
After spending a lot of time on pinterest but not finding anything I really liked I decided to come up with my own invitation. The one thing I saw on pinterest and loved was the idea of having a yarn braid on the invite like on this one.

 First thing I did was look on the silhouette store to find a tower. I was so happy when I found this 'stone tower' shape. You get the tower and then the stones for the main part of the tower. I cut the towers out in brown and the the stones in light purple. I later cut out another tower shape, white this time and had the information for the party written on it.
I glued the purple part on top of the brown tower and used white craft ink and a sponge to add some texture to the brown stones.
 Then I used my grand calibur and a spellbinders die to make miniscule little flowers in pink and purple.
 I used a spellbinders foliage die for the leaves on the tower. 
 I assembled the little leaves or vines.

 I also made about 3 bigger flowers per invitations, I just used an old flower punch I had lying around and shaped them a little. I wanted a bit of yellow on my card too so I took some pearls and used a copic marker to color the pearls.
 I then assembled all the tiny flowers onto the vine and added the 3 larger flowers as well.

 To finish it off I glued a little yarn braid to the inside of the window in the tower (I did hide the knot with the other invitations, just dont glue down the window part before you've inserted the braid!! ).
 I made these cute little tickets and added a colorful paper clip to hold the front and back (the white tower with the party info) of the invitation together. Luckily I only had 8 of these to make, it took me about 4 hours to make all of them. 
I hope this can maybe inspire you if you ever have to make Rapunzel birthday invitations!:) Have a nice day!
I'm linking up to these parties:
http://thetrendytreehouse.blogspot.fr/2013/09/create-share-features-too.html
http://www.savvysouthernstyle.net/2013/09/wow-us-wednesdays-137.html

Friday, March 22, 2013

Pink and white cupcake bar

Tonight we celebrated the 171st anniversary of the relief society in our church. We had several little service activities and at the end we had refreshments. To make the evening feel more festive I organized a cupcake bar and went crazy on white and pink:) I love how it turned out and I had a lot of fun preparing everything.

 My husband's aunt and I made a total of 100 cupcakes for the evening, we had chocolate, lemon, nuts and yogurt cupcakes. I made the little labels using the silhouette program and I got the cute card holders in England.
 I went pinwheel crazy this week. I was planning on making three to go inside the white crate like in the picture below but they were so much fun to make that I made over 30 of them in the end...
 A sister in our ward turned 75 today so I made this small pink cake for her and tried for the first time to make a ruffle buttercream frosting.
 I used a wilton #104 petal piping tip. For a first try I'm really quite happy with it.

One more close up of the ruffle cake:)

I put little pink candies in the jars and also put the different frostings in glass jars.
 I made a sign (in french) explaining how to use the cupcake bar.

 More pinwheels and I also tried making french meringues for the first time. Of course I made them pink:) Here's the recipe I used. I made mine very small, a bit smaller than an inch and made 120 with that recipe. They are cute and very yummy too:)


 It was a great evening, we got a lot of service projects done and had a great time chatting and eating! Have a great week end!!


Tuesday, March 19, 2013

Golf/Jeeves & Wooster desert table

Last Sunday my father in law turned 60 (no the banner does not say goth party...). The Friday before I went into a party planning mood and decided to organize a golf/Jeeves & Wooster (british TV show) dessert table. Jeeves and Wooster was a bit difficult so we had the theme music on when my father in law came in and I tried to give the table a vintage feel since the show takes place in the 1920s, Wooster also loves golf and berets. My sister in law Linda helped me a lot with the food and my mother in law as well. 

 It all started with this cake that I saw on Jenny cookies, she is so talented. Making cakes is so not my thing, I'd much rather make cupcakes! Anyway I loved the idea of putting a golf ball in the cake:)
 Sunday was also St Patricks day so green was the main color and we had some yellow too.
 Yummy lemon meringue pie and delicious little vanilla and chocolate eclairs!
 Fresh home made lemonade and oreo cake pops, here's where I got the recipe for the cake pops (it's in french though).

A couple weeks ago I discovered how to make mini pavlovas (picture below), it's a marshmallowy (is that a word??) meringue base topped with homemade whipped cream and fresh fruit. I'll be sharing that recipe soon. It became an instant favorite in our family!
 So this is what I whipped up in 2 days. This Friday I'm organizing a cupcake bar for our relief society activity at church so I hope to post picture of that this week end! Have a nice week!


Tuesday, March 5, 2013

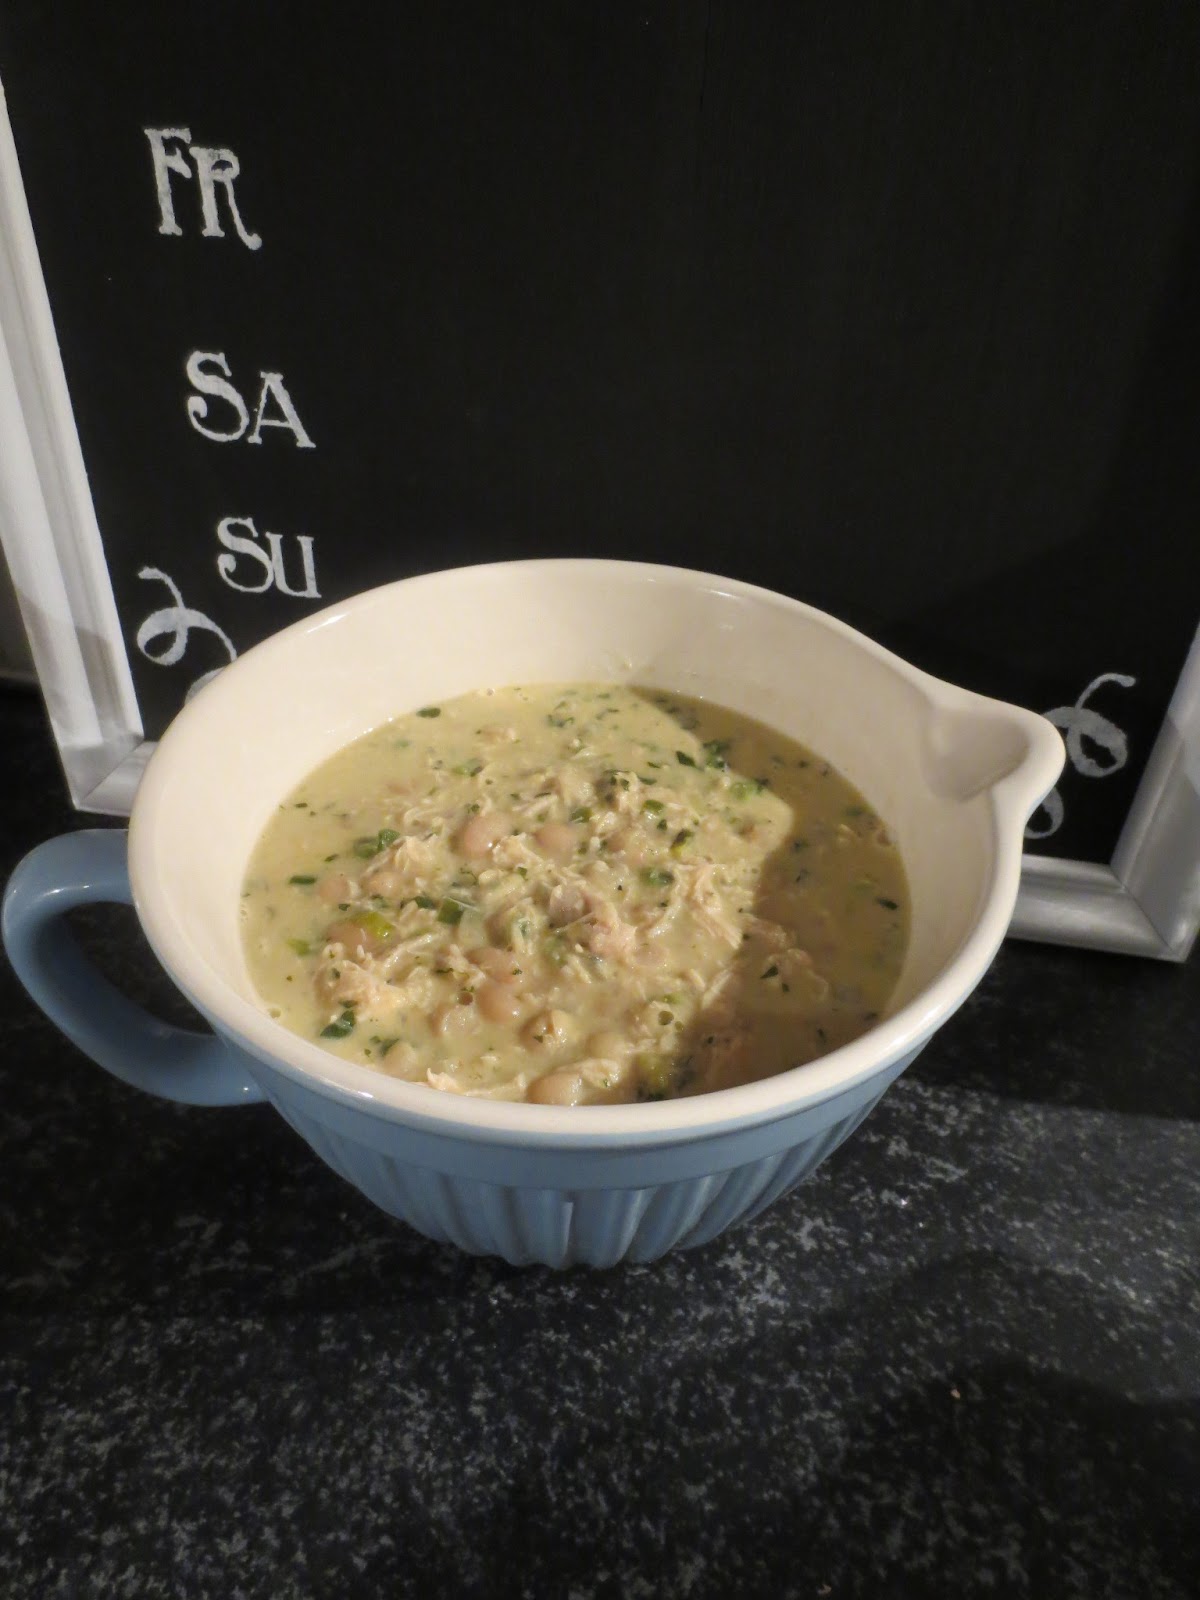
Pinterest recipe challenge: White chicken chili

A couple months ago I came across this white chicken chili recipe and it has become a favorite ever since. I did make a few changes because there were a few things that I didn't have but I think they are good substitutes and so far I have always made it with my changes.


1. I start by cooking the chicken breasts in boiling water and I use my stand mixer to shred the chicken. I set the mixer on 4 or 6 and it takes about 30 seconds to shred the chicken, it's awesome!
Here are the ingredients that I use:
1 cup chopped onions
1 green onion sliced
1/2 green pepper
1 thin green chili pepper seeded and sliced
2 Tbl olive oil
3 cups chicken broth
1 large 800g can white beans (partially drained)
3 cups cooked chicken breast shredded
1 tsp chili con carne mix
2 garlic cloves crushed
1 1/2 handfuls fresh flat parsley
1/2 handful fresh coriander
3/4 cup sour cream (I used crème fraîche because that's all you can get in France)
1 1/2 cups shredded cheese (I use gouda)
 2. In a large stock pot over medium heat, sauté onions, green onion, pepper and chili pepper in oil until tender. Chop the fresh parsley and coriander and add to the pot. Stir in remaining ingredients except sour cream and cheese.
3. Simmer for 30 minutes, stirring frequently. Shortly before serving add cream and cheese. Stir until cheese is melted.
 We usually eat this with homemade french bread, I'll be sharing that recipe shortly. Bon appetit!


Saturday, March 2, 2013

Pinterest recipe challenge: Carmelitas

Ever since I discovered Pinterest I've mostly been fascinated by all the lovely delicious looking recipes that are so easy to find. I've tried out a quite a few over the past 6 months and a lot of them have become favorites in our family. So I thought I'd start sharing my adventures trying out pinterest recipes with you:)

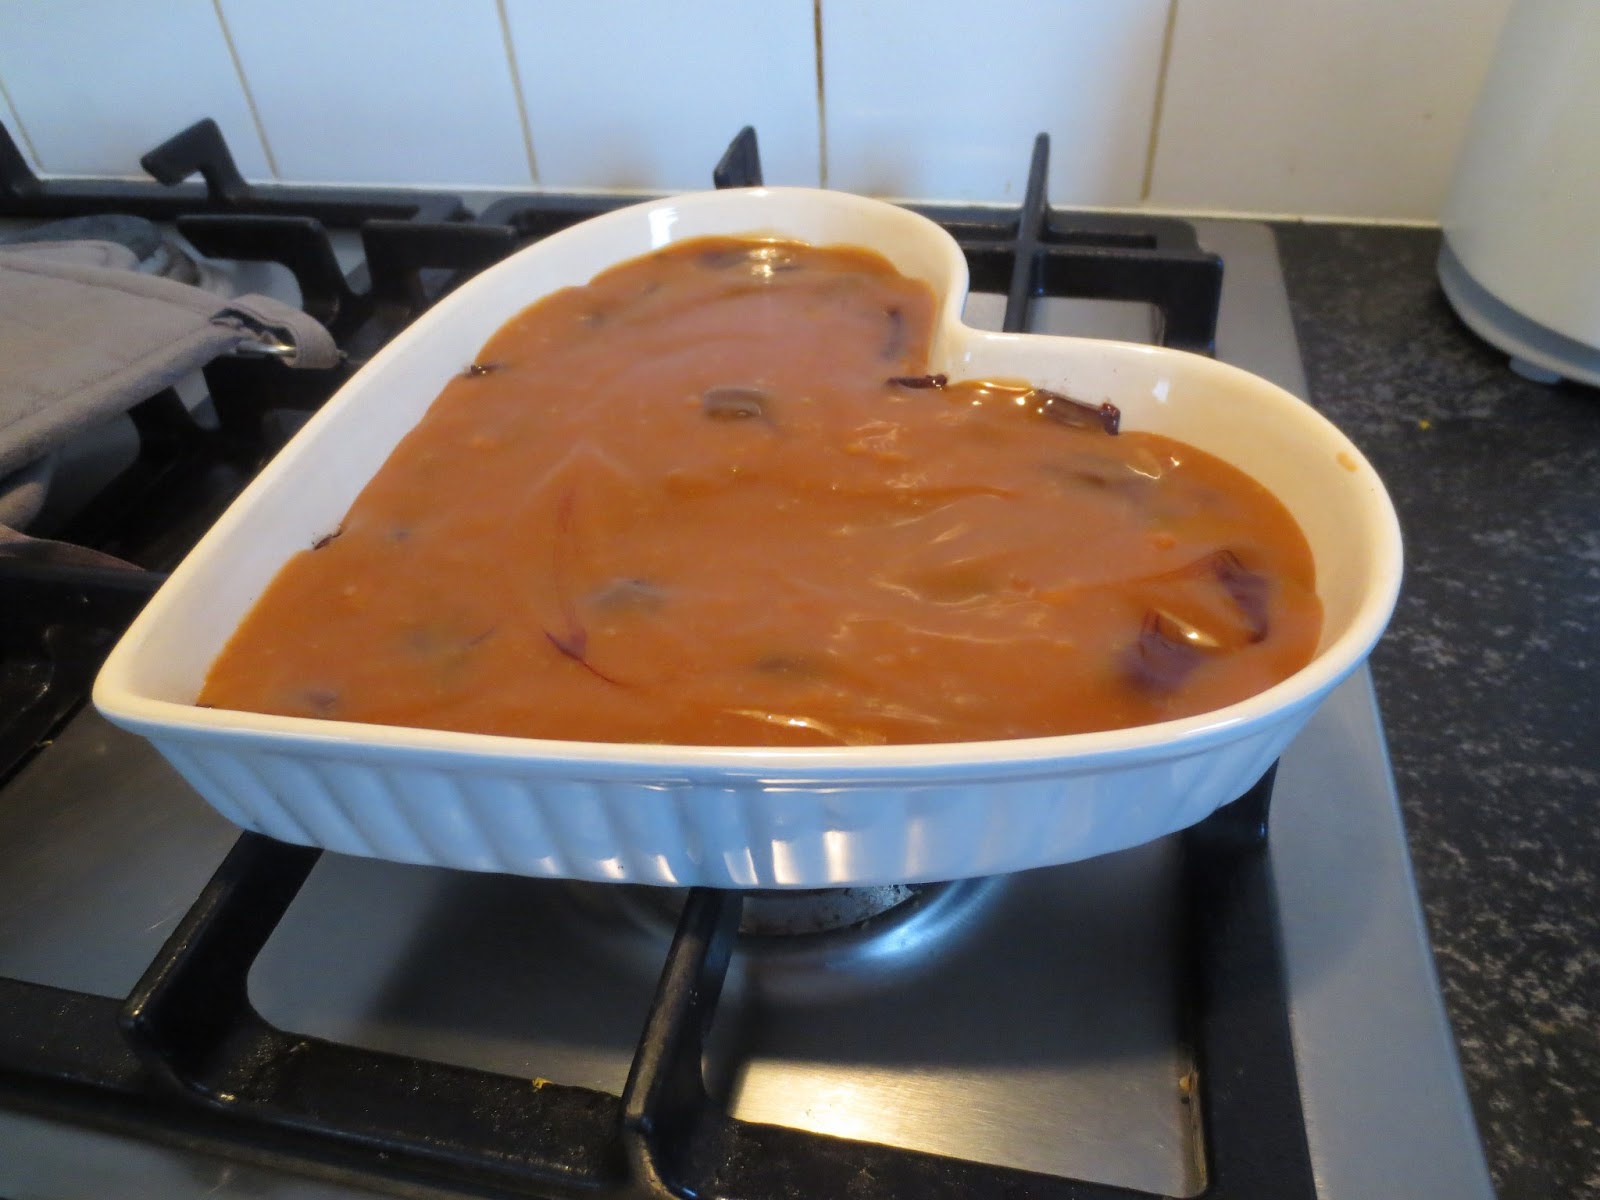
The recipe I am sharing with you today comes from luluthebaker, it is an original recipe that she came up with and I love it!! It's a delicious and very rich oatmeal/butter/chocolate/caramel dessert that is baked in the oven and tastes best the next day (if you made them in the late afternoon like I did) once the chocolate has hardened again after baking (oh and they taste best at room temperature!!)

 I didn't change anything in the recipe. For the caramels I used an entire 165g bag of Werther's soft caramels
 So you have a bottom layer of oatmeal/brown sugar/buttery goodness, then a layer of chopped chocolate, a layer of melted caramel and heavy cream and the whole thing is topped off with a final layer of the oatmeal mixture and then baked in the oven.
 I think I'm going to go make some for tomorrow! hope you enjoy this and let me know if you try it out!!