I've taken forever to post my Christmas decorations, time flies in December and I can't believe Christmas is in 2 days!! I hope most of you are more ready than I am!
Anyway here we go!
As I mentioned in my previous post I went for a Scandinavian/shabby chic theme this year. On our tree I used silver glass ornaments and a lot of zinc ornaments as well that I picked up at Ikea this year:) I also love to add real candles but we never light them.
I made these Christmas count down blocks last year and I'm glad they still fit in with my theme this year:) Of course I love adding vintage items in my decorations!
My advent candles were very easily and quickly displayed this year. I didn't make a wreath because once it gets dry it gets so messy when you have to move it on and off the table so I went for this zinc planter and put the greens directly inside that way when I move it around nothing falls onto the table:)
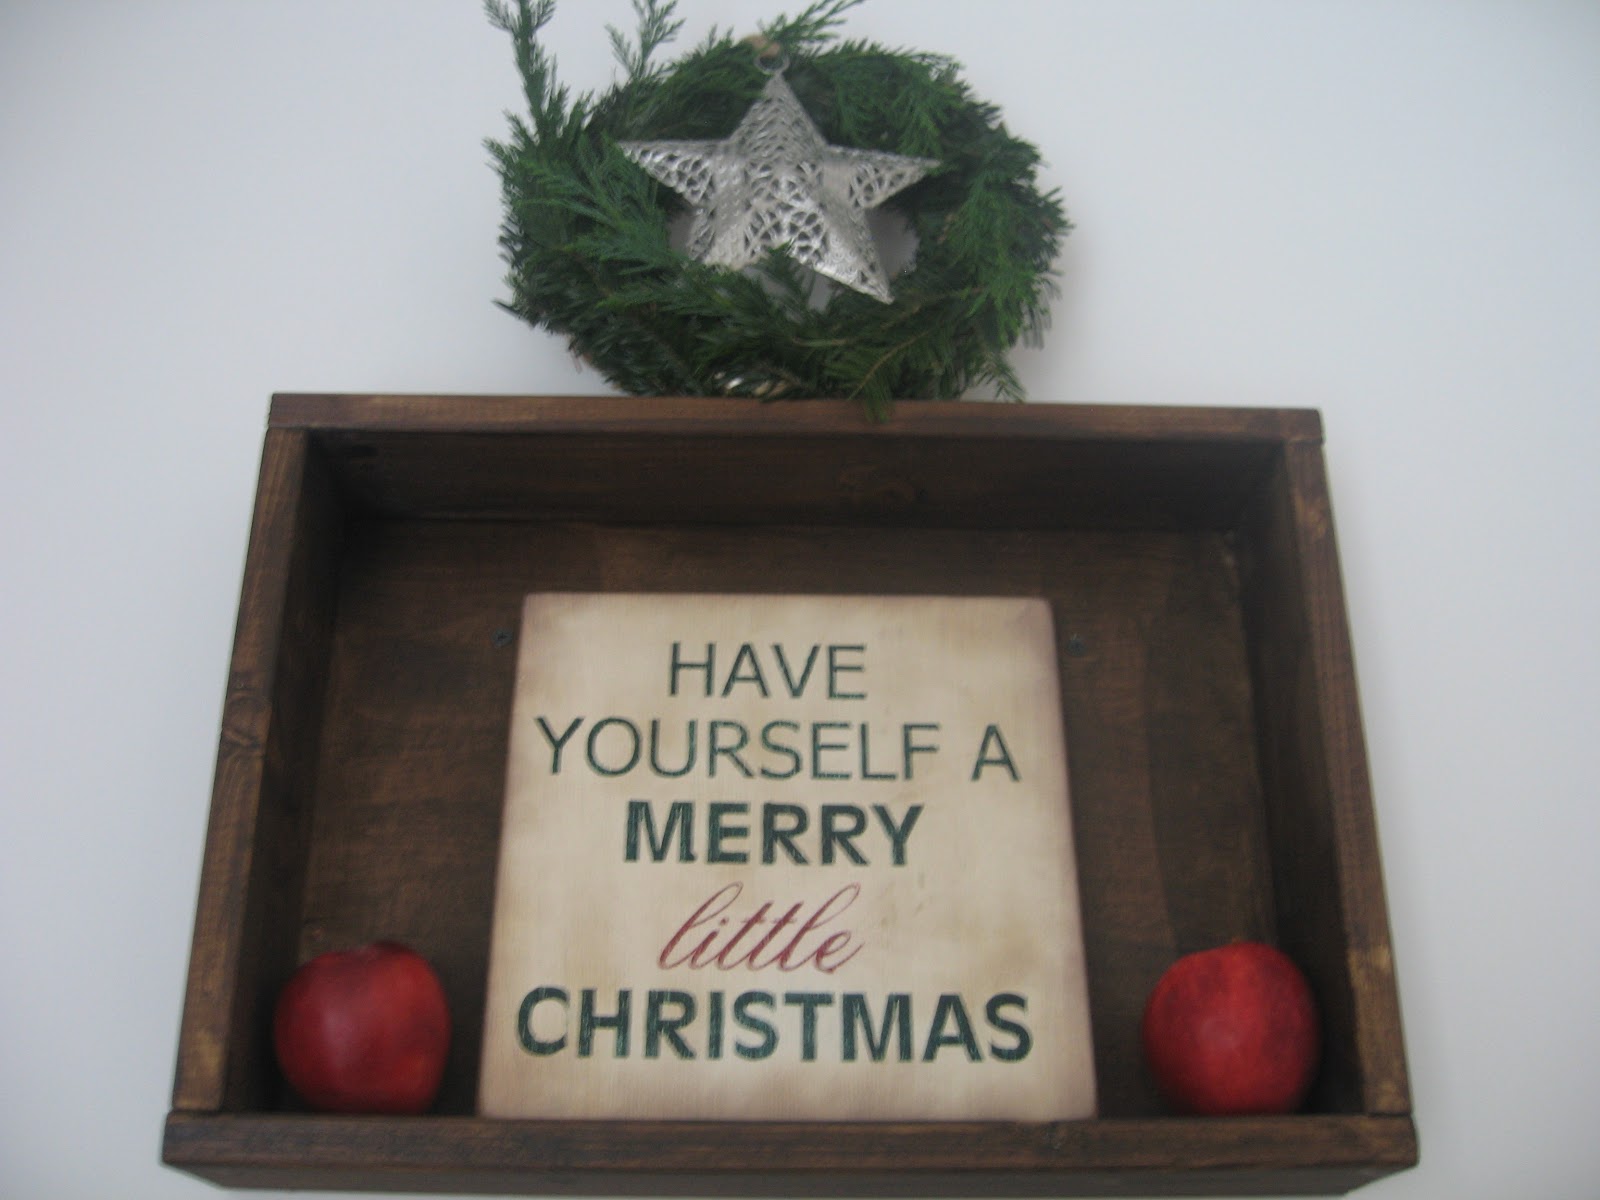
I made a fresh green wreath for the living room and added some fresh red apples for a little pop of color.
I made this plaque and used distress inks to make the plaque look vintage, very easy and mess free (except for the ink on your hands..).
To display the greeting cards we receive this year I went to the woods and picked up some dead branches. I put them in a vase and wrapped some jute around it that I secured with some white satin ribbon.
When I get a card I simply punch a small hole on the top and add some white satin ribbon and then I hang it on a branch.
And here is my mantel for this Christmas. I made a fresh wreath to hang on my fake window. I set up our willow tree nativity on the mantel along with an Ikea lantern and some vintage touches.
Every year I've said I'd make stockings for our family and every year I was never able to find the time. This year I finally made a set of stockings for us! I wanted them to be very simple and neutral. I used jute and lined them with a thin cream colored fabric. I made stencils with my silhouette so I could add our names with acrylic paint. If you're wondering what font I used it is called 'Zelda' :)
I am in love with chalkboards at the moment, so I put one in a chicken wire basket filled with branches and pine cones.
Last but not least, I made these little wooden signs for my kids to hold for our Christmas pictures. I didn't use chalkboard paint, just regular black acrylic paint and white acrylic paint. I retraced the swirls with a silver paint marker and used a sponge and some white paint marker dabbed on it to sponge the surface of the plaques making sure to take the excess paint marker off on some scratch paper before applying it to the plaque. And if I added too much white here and there then I just grabbed some sandpaper and sanded it down as much as I needed to.
Thank you for all the nice comments and remarks this year! I wish you all a very happy Christmas with your loved ones!!


you're the best !!! :) good job !
ReplyDelete