Showing posts with label home decor. Show all posts

Tuesday, April 19, 2011

Pomander flowers

Eventually the flowers I had on this piece of furniture died so I had to find something new for my spring decoration. I came across this post on how to make pomander flowers and got straight to work.


I used my silhouette to cut out hydrangea petals from shiny pearl pink and violet paper ( you could use a flower punch). I made two 4 inch pomanders and one 2 inches big using Styrofoam balls. For the bigger pomander I cut petals about 3/4 inch big and for the smaller one I used petals that were about 1/3 of an inch. Curl the edges of all the petals (you'll need about two sheets of paper per pomander or one sheet for the small pomander).

I then used a box of sewing pins and 2 small boxes of white shiny beads.
Pull a bead through a sewing pin and poke it through the middle of a hydrangea petal. Then poke it into a Styrofoam ball. In the picture below you can see the different petal sizes I used. At first I was just going to use the small petals but it would have been so much work so I switched to the bigger petals and kept the small ones for my 2 inch Styrofoam ball. This was a very simple project, perfect for a movie night!
I placed the finished pomander flowers on top of my white Ikea candle sticks.
Oh and I finally found a place for my feathered wreath, the shutters open up and there is a mirror inside, I found it in a hobby store in Germany a couple weeks ago when I was visiting friends in Munich.
I have three of these gorgeous birds that I bought a while back but so far I've had a hard time finding the right spot for them.
Hope you enjoyed this tutorial and maybe try it out yourself!
Linking up to these parties:

http://todayscreativeblog.net/
http://www.momnivores-dilemma.com/

Friday, March 4, 2011

A little bit of spring

I was at my favorite hobby/gardening store the other day looking for supplies for another project that I will be sharing with you shortly, I think was having a very creative day because I ended up leaving the store with supplies for at least 5 projects instead of just the one. The most expensive item I bought that day was that adorable watering can on the right! I love how the whole thing turned out with very little effort...now we just have to see how long the flowers will last....I have a bad history.
The idea for this project came to me when I saw this piece of fence for only 5 euros (about 6 dollars)!
I made a vinyl stencil using my silhouette, of course and placed the words where I wanted them on my fence. Oh, and don't forget to keep the inside of the letters so you can stick those on your project as well!
The I used my favorite off white color which is a very thick varnish with a satin finish and used a special stencil brush to dab the paint inside the letters.
I waited until it was completely dry before removing the stencil and then I went over the paint with some sand paper to give it a more rustic look and flatten out some of the letters that got too much paint.
I bought some cheap potted plants and just left them in the pot they came with, just your basic terracotta colored plastic pot.


I think the stencil adds a nice touch but I'm sure it would look nice without it as well so go on and give it a try!

linking to: the shabby nest and I love naptime

Friday, February 11, 2011

Pillow stencil

Apparently stencils are in at the moment! I found these great canvas pillows for 2.50 euros the other day (3.50 dollars) and just couldn't resist, so I got three to replace my old pillows on our couches. I wanted to try stenciling so I thought I'd put our initials on one of the pillows. Of course this week my daughter was sick and then I got sick so I didn't have time to go to the store and pick up some fabric paint and since I am very impatient I just decided to use plain acrylic paint seeing how well it stays on my clothes when I get clumsy while I'm painting.

I started out by cutting my image out of vinyl with my silhouette and I just transferred the image to my pillow case.

I went around all the letters and numbers with a pencil


Then I covered a hardback book with a plastic bag to protect it and I put it inside the pillow case so the paint wouldn't go through to the other side of the case and so that I had a sturdy surface to paint on.
Once the paint was dry I attached tassels to the four corners with a yarn needle.
And I tied a knot inside the pillow case for each tassel.
My husband doesn't like the tassels and I think I'll get tired of them soon but I can easily remove them so I'm not worried:) I like how it turned out though...for now!

Tuesday, February 1, 2011

faux 'antique' handle

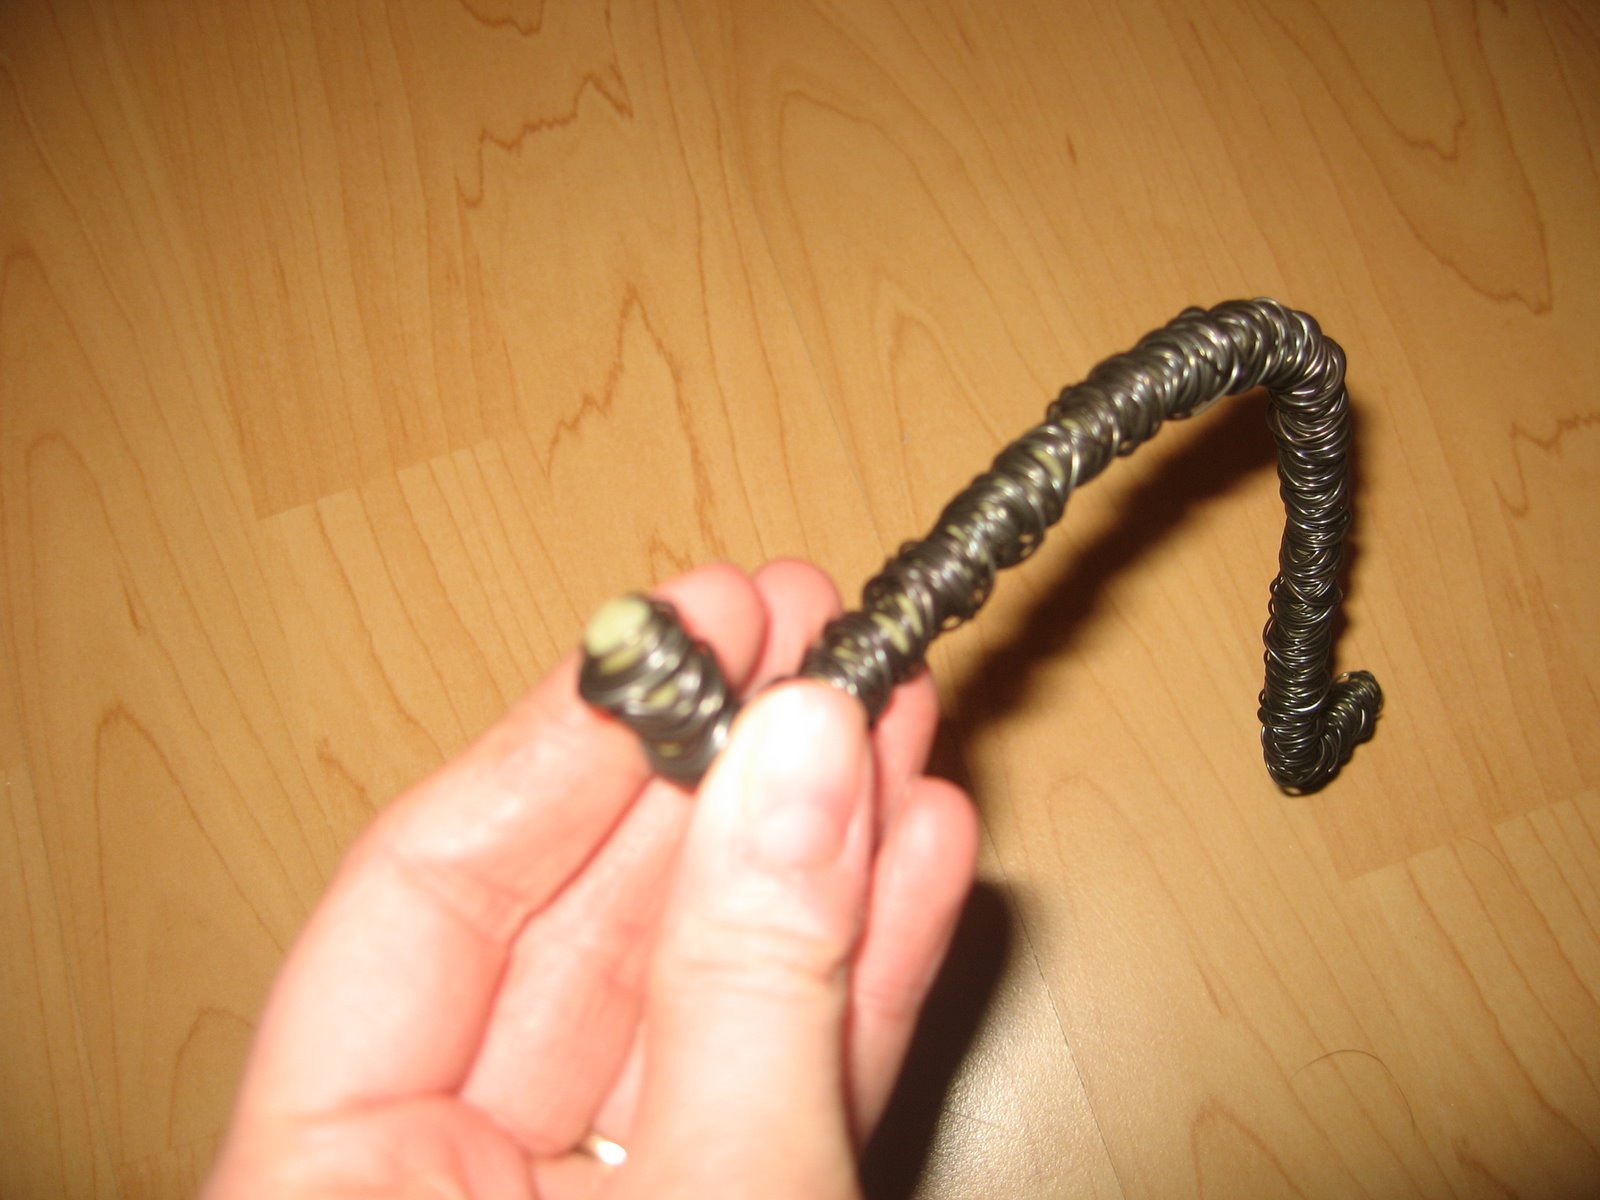
So to make a handle for your laundry sign...or any other sign that might need a handle, here's what you'll need: Fabric flowers with a thick stem that have a wire inside of them so you can twist them into any shape you like. I got mine at IKEA for 50 cents if I'm not mistaken!

And some dark gray wire, you could use pliers too but I couldn't find mine and I managed very well without them:)
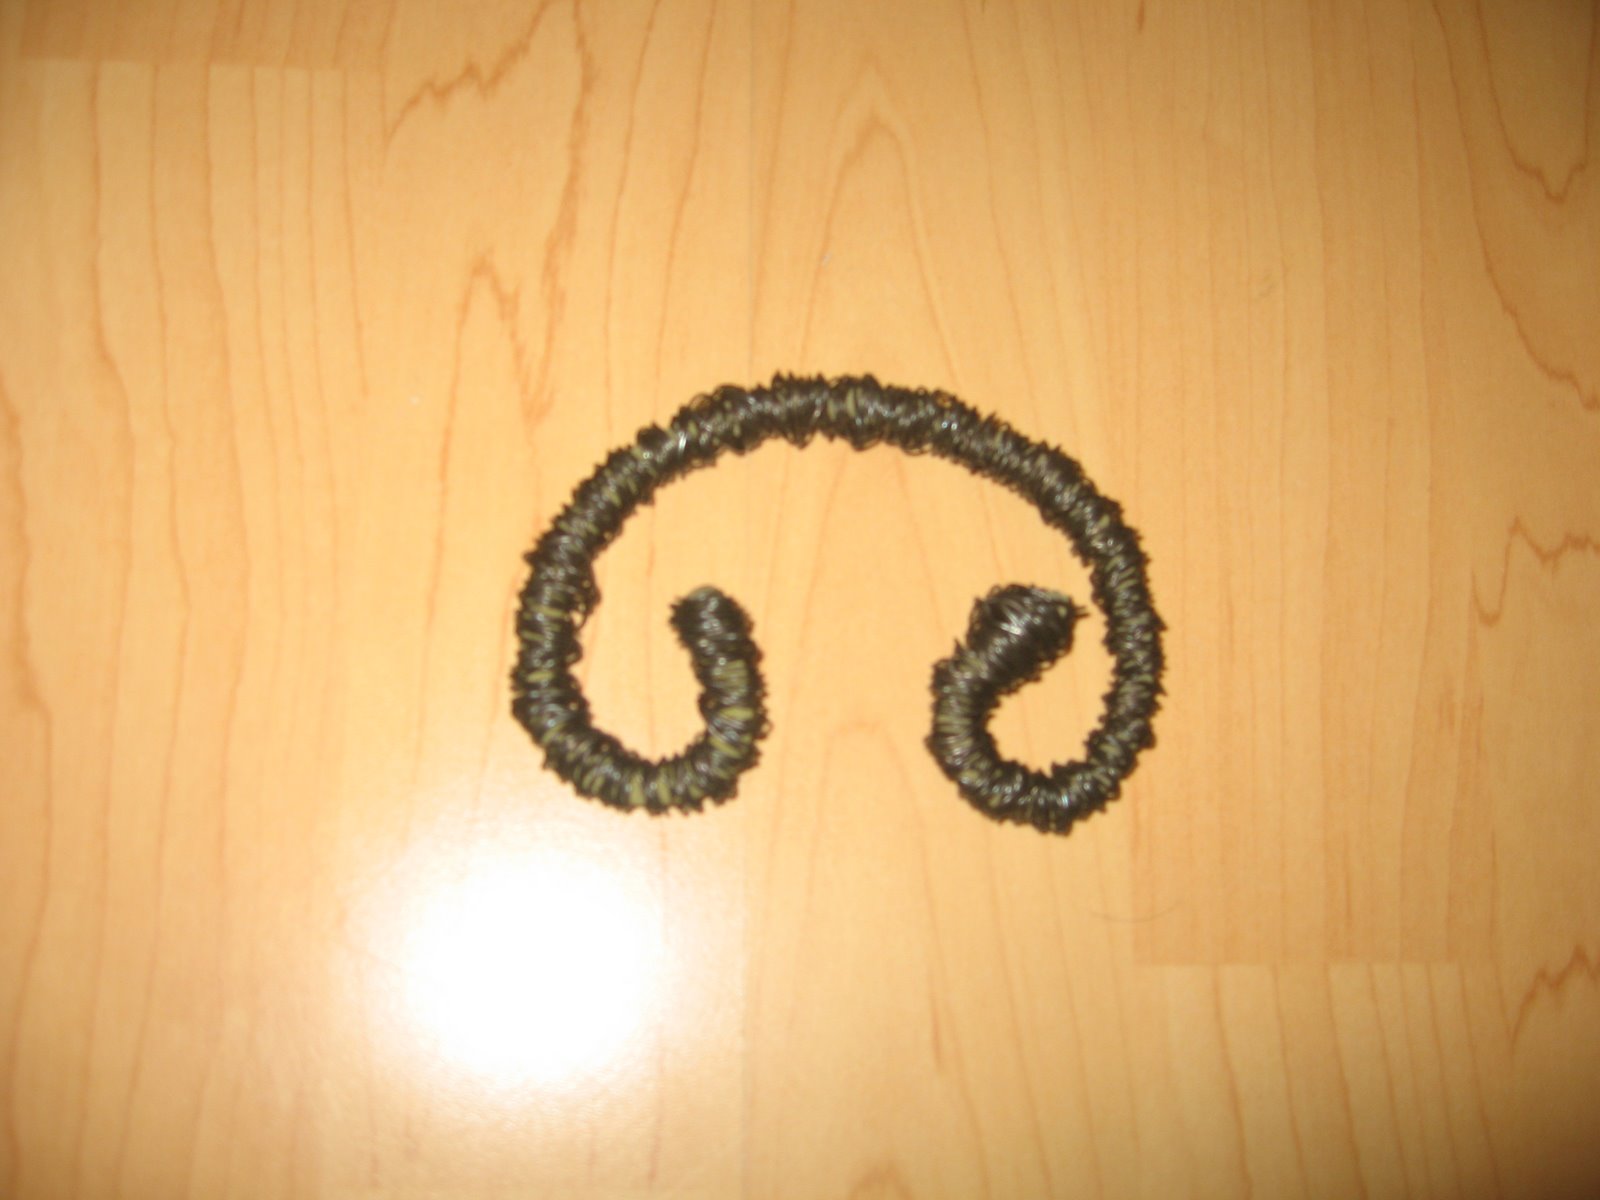
Start by removing the flower from the stem and start twisting the wire around the stem, I went across twice and the first time I tried to make it bulky by not twisting it tightly around the stem. then when you go across the second time make sure to fill in any holes where the green stem might be showing!
The ends aren't completely covered on mine but it didn't bother me, I'm sure you could cover them up better if you wanted to.
With this one I tried to add extra wire to the ends to make them look round but because I was too eager I didn't get both sides even.

So to finish my laundry sign I asked my husband to drill two holes on the top front of my sign and I stringed some ribbons into them and tied my handle to the sign with the ribbon. Voila! super cheap project but I finally have something nice to look at when I walk past my laundry baskets:)

Laundry sign

The other day I saw this neat project on How Does she and just had to try it out for myself. I've been wanting a little sign to put over my laundry baskets for a long time and this looked just perfect!

My piece of wood measured 28X19 cm
I just covered my wood with scrapbook paper using mod podge and I didn't painting the wood this time!
Then I sanded my edges
and inked them with green first and then brown, using a piece of sponge
then I added my contact paper words!

Now to make it look like the one from How Does She I was going to need a nice metal handle to attache to the top with some ribbon....so I went on the search for a nice handle. Well, I couldn't find anything antique looking and cheap so I got to work making my own handle. So check out my next post to see how I made it!

Sunday, January 30, 2011

Branches

For my winter decorations I chose to go with light blue, silver and white this year. One of the things I wanted was to try out something I was planning to do at my future sister in law's wedding this summer with branches, flowers and butterflies. I gave it a go after going through the forest to find some dead branches! It was so much fun to make. I bought some cheap white fabric flowers that were on sale and just painted them with acrylic paint the color that I wanted. I bought a butterfly mobile for about 2 dollars ( at VIMA in France) and just used the individual butterflies. I also found some nice clear plastic beads to hang from the branches. I gathered my decorations and my glue gun and went to work. I really liked my finish product and ended up putting it on my living room table....after a few weeks of walking past it all the time and having to remove it every time we had visitors over for dinner I noticed that it was a bit of a pain. The branches were quite long (reminded me of spiders legs..) and I started to think, if we have this on all the tables at the wedding every time someone stands up he's going to get pocked in the eye!! Oh, and the kids would love it:) So it had to go...sadly.
But luckily I found a new use for it. I have these cute shelves that I asked my Dad to make for me and I couldn't find anything really nice to put on them, I kept making new things to display on the shelves and I'd get sick of them after a few hours. So instead of throwing out my long branches...I cut them and put them in these tiny candle glasses!
Now I can finally walk down my hallway and feel content:)

Saturday, January 29, 2011

Floating frame

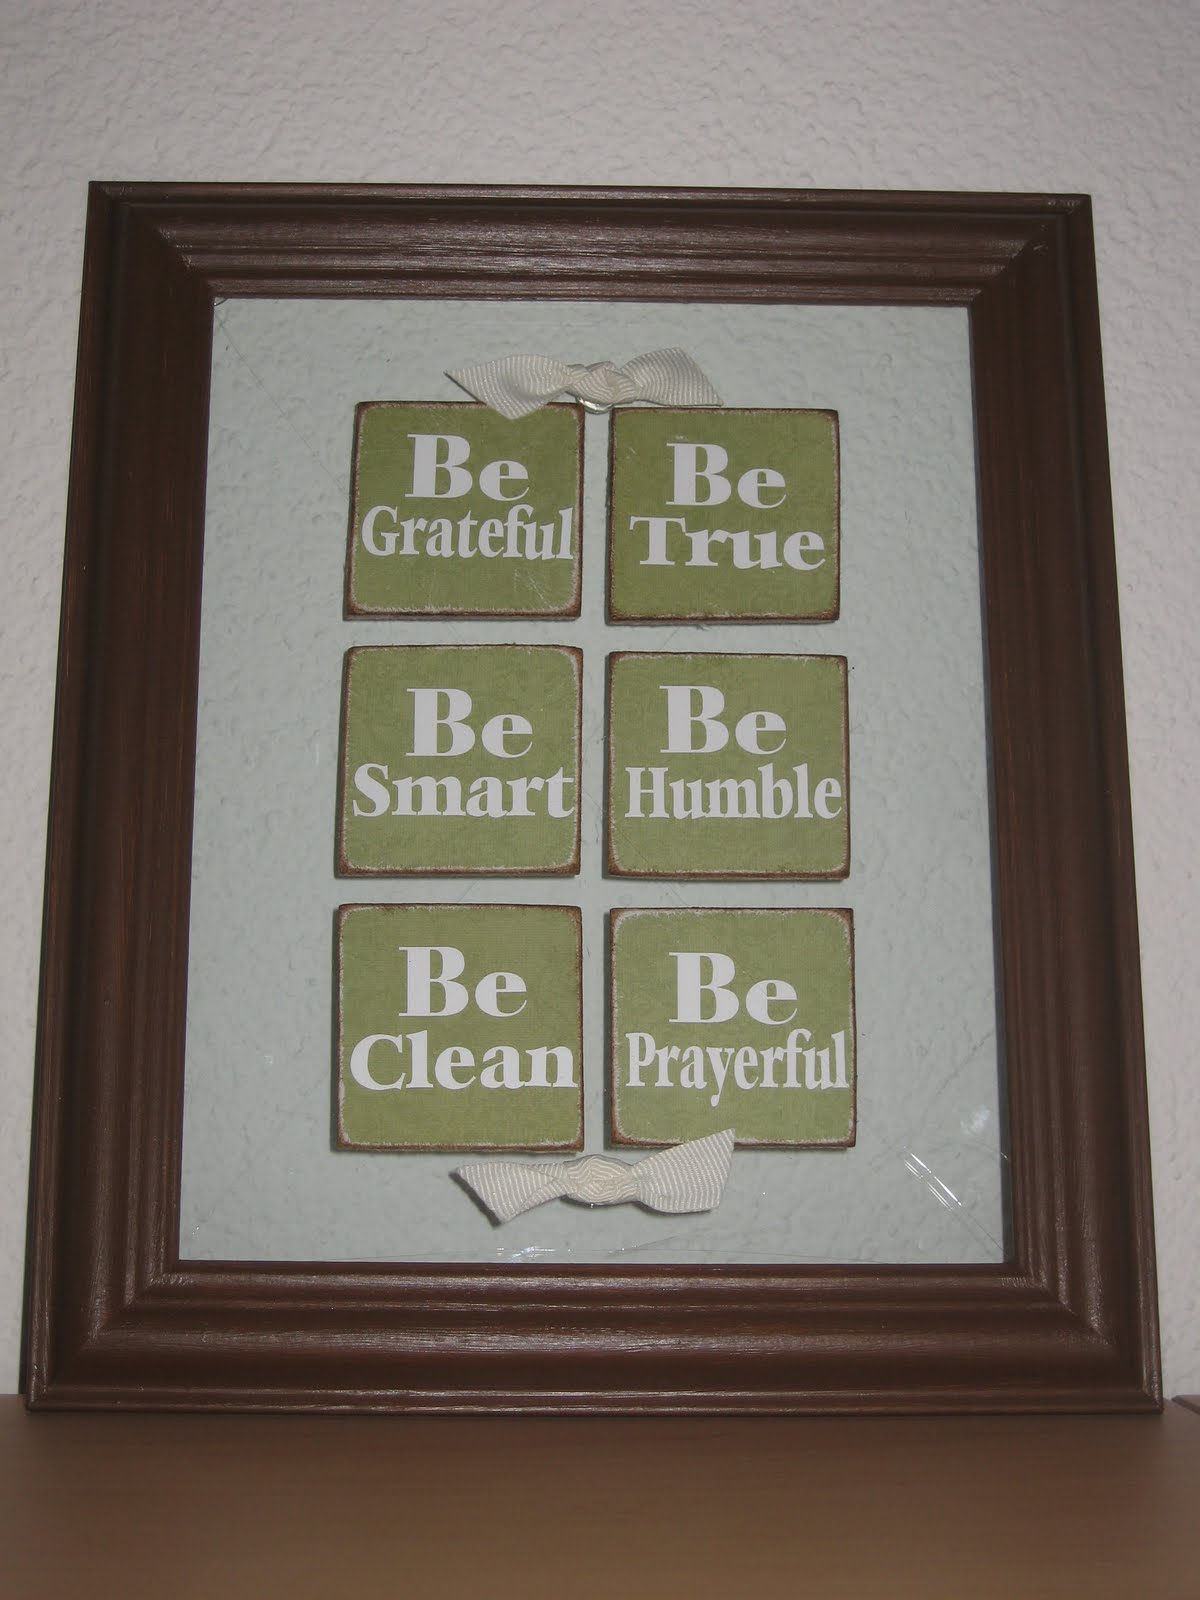
I discovered floating frames the other day while I was browsing through other craft blogs. I had a project to make wood blocks with presiden't Hinkley's 6 Bs on them and that gave me an idea. This is how it turned out:

Here's how to make this
Supplies:
a frame with an extra glass insert (hobby stores usually sell those really cheap)
get a frame with a nice thick cardboard backing that you can use for your squares
a hand saw
craft knifescrapbook paper
sand paper
mod podge
vinyl words
ink for edges (optional)
ribbon (optional)glue gun...not optional!

1. I started by using one of the blocks I had originally planned on decorating as a guide to trace my squares (they measured about 5.5 cmX5.5cm and my frame measured 20.5X25.5 cm).

2. use your hand saw for the easy lines.
3. use your craft knife for the rest. I didn't cut all the way through with my knife, I just cut a bit and then bent it till it snapped, I didn't really care to have even edges.
4. Choose your paper and trace your squares on the back of your paper and cut them out.
5. cover your cardboard with mod podge (you can't find this in europe so I just use the glue they sell for découpage or technique de serviette from UHU)
6. place your squares face down and let them dry about 10 minutes. My cardboard was white on the other side but I used the sand color side for my paper because once I sanded the edges I wanted the 'wood color' to show!
7. Sand your edges as much or as little as you like and ink the edges if you want.
8. Stick your vinyl on your squares.9. Take a glass insert and hot glue your squares where you want them. Add ribbon if you like, I think it adds a nice little touch to the whole project. Very important..remove all the little strings of glue that might be on the glass...I didn't do it properly and now it looks like my glass is cracked!
10. Place the second insert into your frame first and then add the one with your squares. Hot glue all the corners and edges of your frame so the glass doesn't fall off!! once again remove glue strings!
This project didn't cost me a thing because I already had all my materials on hand, I'm always on the look out for cute and cheap frames because I know I'll always ended up finding a good use for them. What I did in this case was paint my frame brown, I almost always paint my frames to suit the color pallet of my project instead of buying a frame that's already the right color.