Saturday, July 2, 2016

Tea for two party

It has been over two years since I've blogged, basically I had a baby two years ago today (exactly 2 years ago as I'm writing this!). So I thought I'd post pictures of what I've been up to the past two years (apart from caring for my three kids who keep me VERY busy).

The theme of today's party was Tea for Two, there is so much inspiration on Pinterest and youtube! Here is what I came up with. Enjoy! 
I made a naked cake for the first time! No one in my family likes heavy cakes with lots of frosting so I thought I'd give them all a break from buttercream and made a cake with no frosting. I made a patisserie cream mixed with whipped cream to fill in between the layers along with a bit of raspberry jam. The top half was a lemon pound cake and the bottom half a victoria sponge cake.
 
Oh, I guess I did cheat a bit. I made a dozen cupcakes with the extra victoria sponge batter and added a ruffle using the wilton 1B tip as shown in this tutorial by passion for baking.
A lovely friend of mine let me go wild in her garden and pick a ton of gorgeous flowers for my cakes and vignettes. Thanks Verena!
Since the theme was tea for two I used my cherished Royal Albert tea set that I have been accumulating over the past few years. I love the mint color, the gold detail and cute polka dots.
I am a huge fan of chalkboards!
Here are a couple shots of the overall setup.


I made some traditional English cucumber sandwiches to go along with the theme. We also had white chocolate macadamia nut cookies and homemade lemonade.
For the favors I made cute little sour cream pouches for the kids (you can find the tutorial on my blog under paper crafts).
And for the adults I filled up these cute tin containers I got at my local craft store with loose tea.
To finish off this post here are a couple more pictures of the cake :)

Hope you are all having a lovely week end! 

Wednesday, March 19, 2014

A cute fail (sewing project)

A couple weeks ago I pinned this adorable idea off pinterest. It's a french site selling cute stuffed toys like, lambs, rain drops, clouds and more. I fell in love with the adorable rain clouds and finally made three yesterday. I am not totally satisfied with my finished rain drops that look more like cones than drops but I love their adorable little faces. 
So I'm going to do a tutorial on these but keep in mind that you will have to make changes to avoid the same problems I had and if any of you know where I went wrong or what I could have done better please let me know!!

  I drew my templates freehand on baking paper, I later went back and made the bottom less round which is probably why my rain drops are so flat...
 I traced two of each size onto my cotton fabric of choice and cut them out.
 I then used a chalk pencil to trace the mouth and face, dont make the same mistake I made, my faces are too far down on the rain drop, make sure yours are a bit higher up!
 I didn't have embroidery thread so I just used 5 strands of regular black cotton thread together and an embroidery needle.
 I followed my drawing with the needle and thread.
 Next I pinned my rain drops right sides together leaving an opening at the bottom to turn it inside out later. maybe I should have left the opening some place else and not on the bottom. I am just learning how to sew so I have to learn from my mistakes, if anyone knows what I could have done better please comment bellow!
 sew around the edge leaving a 1/4 inch seam allowance and make sure to leave an opening!
 Turn your project inside out.
 Next fill your rain drop with pillow stuffing, I used 100% polyester fibers.

 Once you've filled it up enough sew the bottom together and you're done!


 I think my 'cones' will be a cute addition for the babies corner. I'll be sharing more baby projects soon!

Swaddling blanket with matching newborn hat

Just wanted to share a project I finished for the baby last week. Our baby will be born in July so I wanted to make a couple light weight blankets. I found the tutorial for the blanket and the hat on 'Make it and love it'. I didn't make my own bias for the edging of the blanket, I just used regular bias which wasn't the best way to go because the blanket is made out of knit jersey fabric which is stretchy but the regular bias is not stretchy so the outside of the fabric isn't stretchy which might be a problem when it comes to swaddling. for my second blanket I will be using 1 inch fold over elastic that I ordered from the US so I'm just waiting for that to arrive so I can get started.


 Here's a close up of the hat, I think it's so adorable:) Sorry for some reason the picture is on the side and I can't turn it up...
I made the flower using left over cotton fabric from my baby quilt project. The jersey is white and navy by the way, not black.

Can't wait to swaddle the baby in this soft blanket:)

First quilt project

Today I'd like to share with you my first handmade quilt! I saw this project on See kate sew off of a friends pinterest page and just fell in love with the big triangles and the contrasting colors. I knew I had to have one for our future baby girl!
This project scared me though, I am not an experienced sewer, I only really started sewing this past January, before that all I could sew were buntings, nothing complicated. So every time I finished one step and had to move on to the next I would panic a bit thinking 'what if I mess up this next step and all the previous hours and hours of work were for nothing...' I know, not a very positive way of thinking.
In the end though I was able to make the quilt all on my own! It's not perfect (especially the back side) but I love it just the same:)

 See kate sew does give a tutorial on her website for making this quilt but if you've never actually made a quilt you're going to need a bit more info and and a few tips, so I thought I'd share what I learned.

To see how to start just follow the instructions on See kate sews blog, choose your 6 fabrics and cut 19 triangles out of each fabric using her template (or use the dimensions and create one with your silhouette, that's what I did).
 I then printed out her template layout from her blog. Following the numbers assemble all the triangles you'll need for the first row and put them in the right order (do that for each row before you start sewing!)


 Then take the first two triangles, lay them right sides together and sew down the side as close to the edge as possible (1/4 inch from the edge, or 0.5cm from the edge).


 when you open it up it should look like this:
 Grab the next triangle and keep sewing.
 Your finished row should look something like this:
 Once you've done all your rows take your project to your ironing board and turn your rows wrong side up. You need to iron down all the seams so your project will lie flat like this once you're done:
 Next take rows 1 and 2 and put them right sides together and pin down along the edge that you are going to sew.
 At this point I was worried that all the triangles would end up with no points but most of them were fine and even those that are kind of 'chopped off' dont ruin the project in my opinion.
 This is what my project looked like once I'd attached all the rows together and had ironed the new seams on the back. The ironing is important!

 Next you'll have to choose your fabric for the back, I got one that was white with black lines. Lay it flat on the floor. next time I think I will use masking tape to tape the back fabric to the floor so it doesn't move, live and learn...
 Next lay the quilt batting on top of the back fabric (you want the batting and the back fabric to be about 2 or 3 inches bigger on all sides than your quilt front! Then lay the front of your quilt on top of the batting.


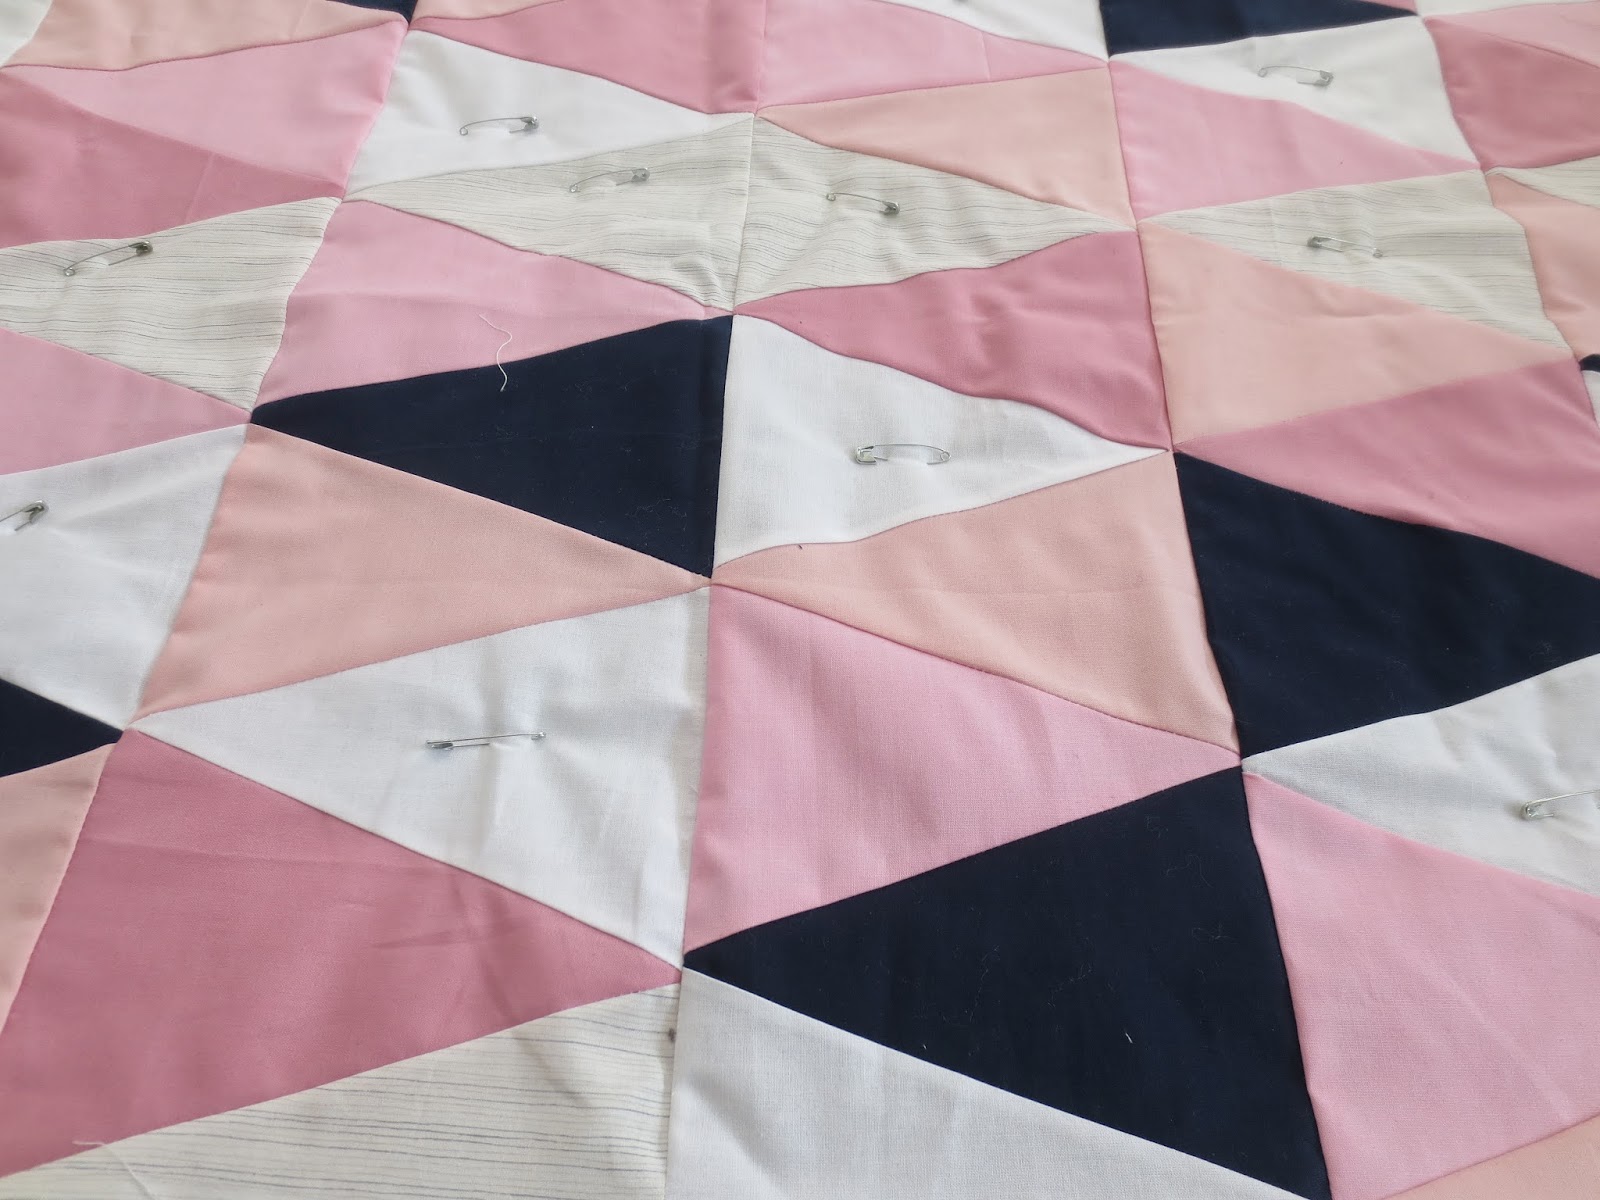
 Now you are going to need safety pins (apart from the fabric and batting this is the only thing I needed to buy to make this quilt but safety pins are reusable and good for a lot of things so it's a good investment especially if you're going to be making more quilts). normally you should pin down and sew around every single triangle but See Kate sew only said to pin and sew all the white triangles and the white and gray triangles, so that's what I did. I was happy I didn't have to sew every triangle down, that would have been so much work but I think the back would probably have turned out better if I'd done all the triangles.
 Once you've pinned down all your necessary triangles you are going to sew around all the triangles you've pinned starting in the Middle and working your way around to the ends. you will avoid fabric bunching up if you start in the middle.
 Here's one finished triangle:
 Once I finished sewing down the triangles I put the blanket back on the floor and trimmed off the excess back fabric and batting.
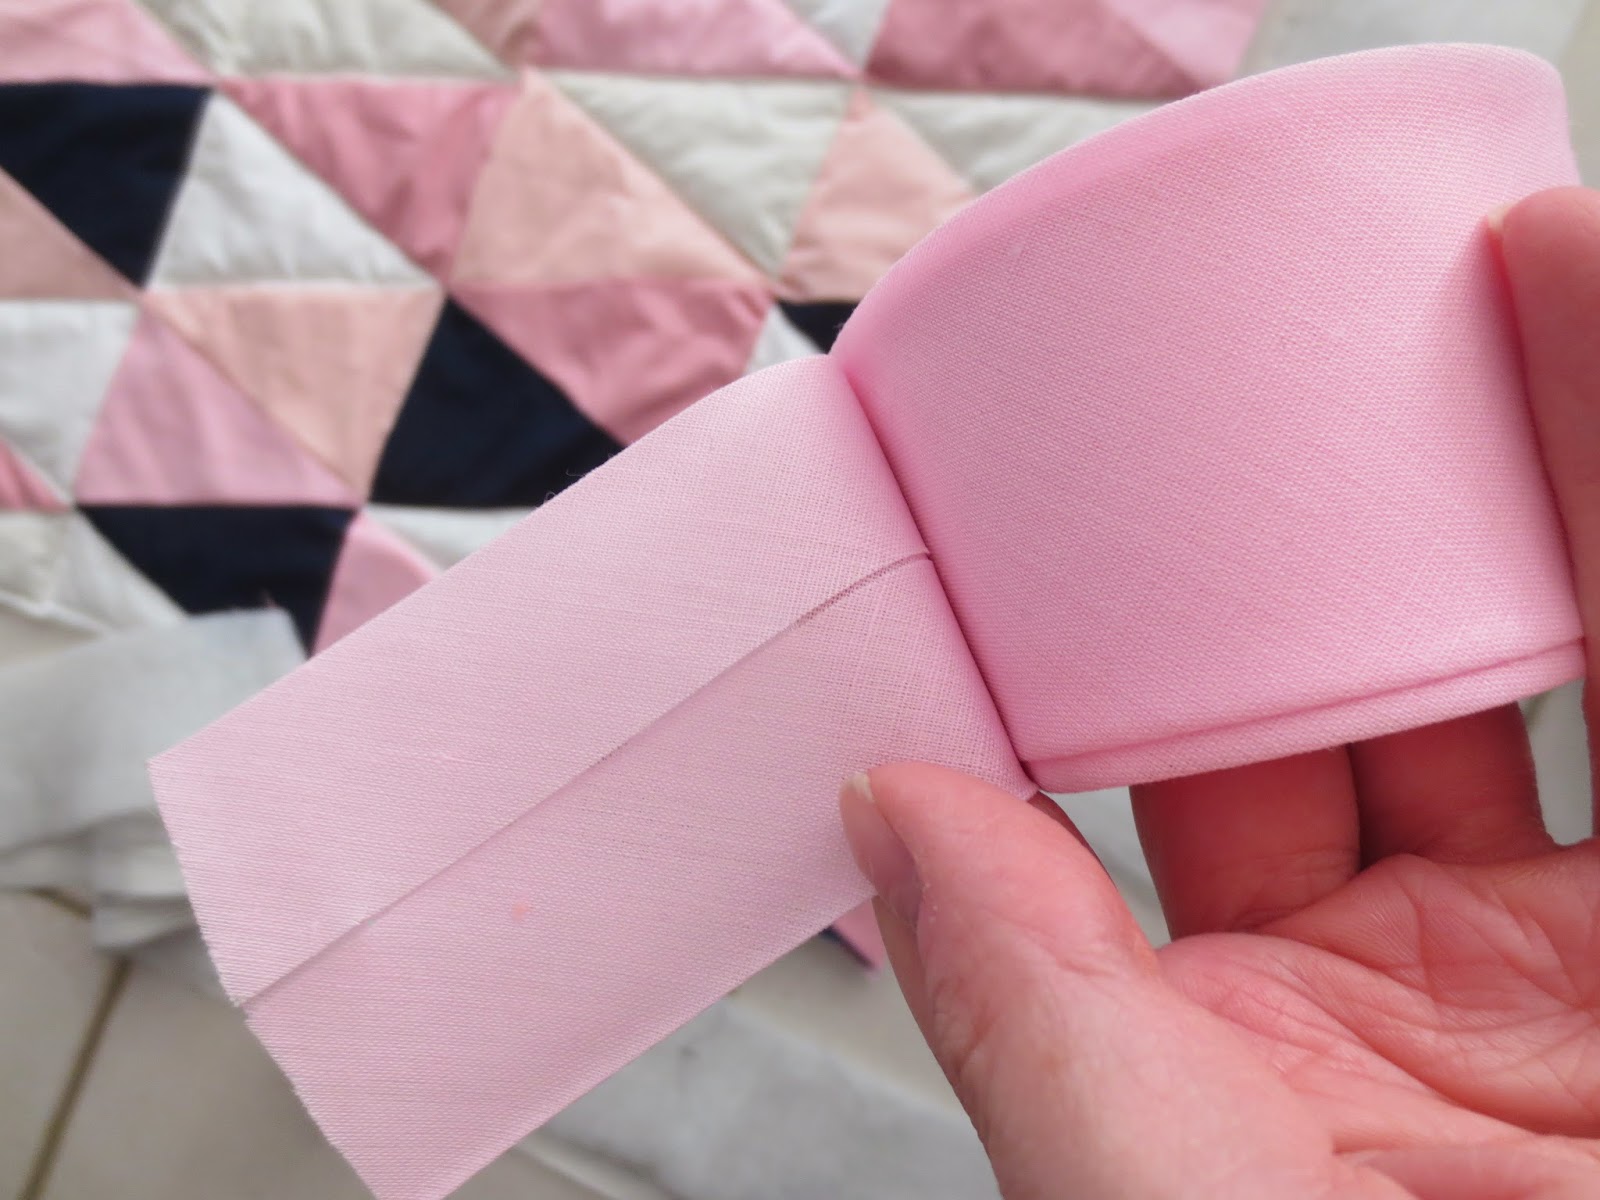
 To bind my quilt together on the sides I bought some wide bias instead of making my own (lazy...but so much easier!).
 I attached it to the edges of my blanket using pins and making sure the bias was always covering all three layers of the quilt.
 Then take it back to your sewing machine one last time and sew the bias in place. You're done!
Here's the finished quilt! Since the baby will be sharing a room with our son we haven't actually prepared anything in the room yet so in the mean time the blanket is just hanging out on our living room couch:)

Here's what the back looks like.
Thanks for stopping by and I hope some of the instructions were helpful for some of you!