Today I'd like to share with you my first handmade quilt! I saw this project on See kate sew off of a friends pinterest page and just fell in love with the big triangles and the contrasting colors. I knew I had to have one for our future baby girl!
This project scared me though, I am not an experienced sewer, I only really started sewing this past January, before that all I could sew were buntings, nothing complicated. So every time I finished one step and had to move on to the next I would panic a bit thinking 'what if I mess up this next step and all the previous hours and hours of work were for nothing...' I know, not a very positive way of thinking.
In the end though I was able to make the quilt all on my own! It's not perfect (especially the back side) but I love it just the same:)
To see how to start just follow the instructions on See kate sews blog, choose your 6 fabrics and cut 19 triangles out of each fabric using her template (or use the dimensions and create one with your silhouette, that's what I did).
I then printed out her template layout from her blog. Following the numbers assemble all the triangles you'll need for the first row and put them in the right order (do that for each row before you start sewing!)
when you open it up it should look like this:
Grab the next triangle and keep sewing.
Your finished row should look something like this:
Once you've done all your rows take your project to your ironing board and turn your rows wrong side up. You need to iron down all the seams so your project will lie flat like this once you're done:
Next take rows 1 and 2 and put them right sides together and pin down along the edge that you are going to sew.
At this point I was worried that all the triangles would end up with no points but most of them were fine and even those that are kind of 'chopped off' dont ruin the project in my opinion.
This is what my project looked like once I'd attached all the rows together and had ironed the new seams on the back. The ironing is important!
Next you'll have to choose your fabric for the back, I got one that was white with black lines. Lay it flat on the floor. next time I think I will use masking tape to tape the back fabric to the floor so it doesn't move, live and learn...
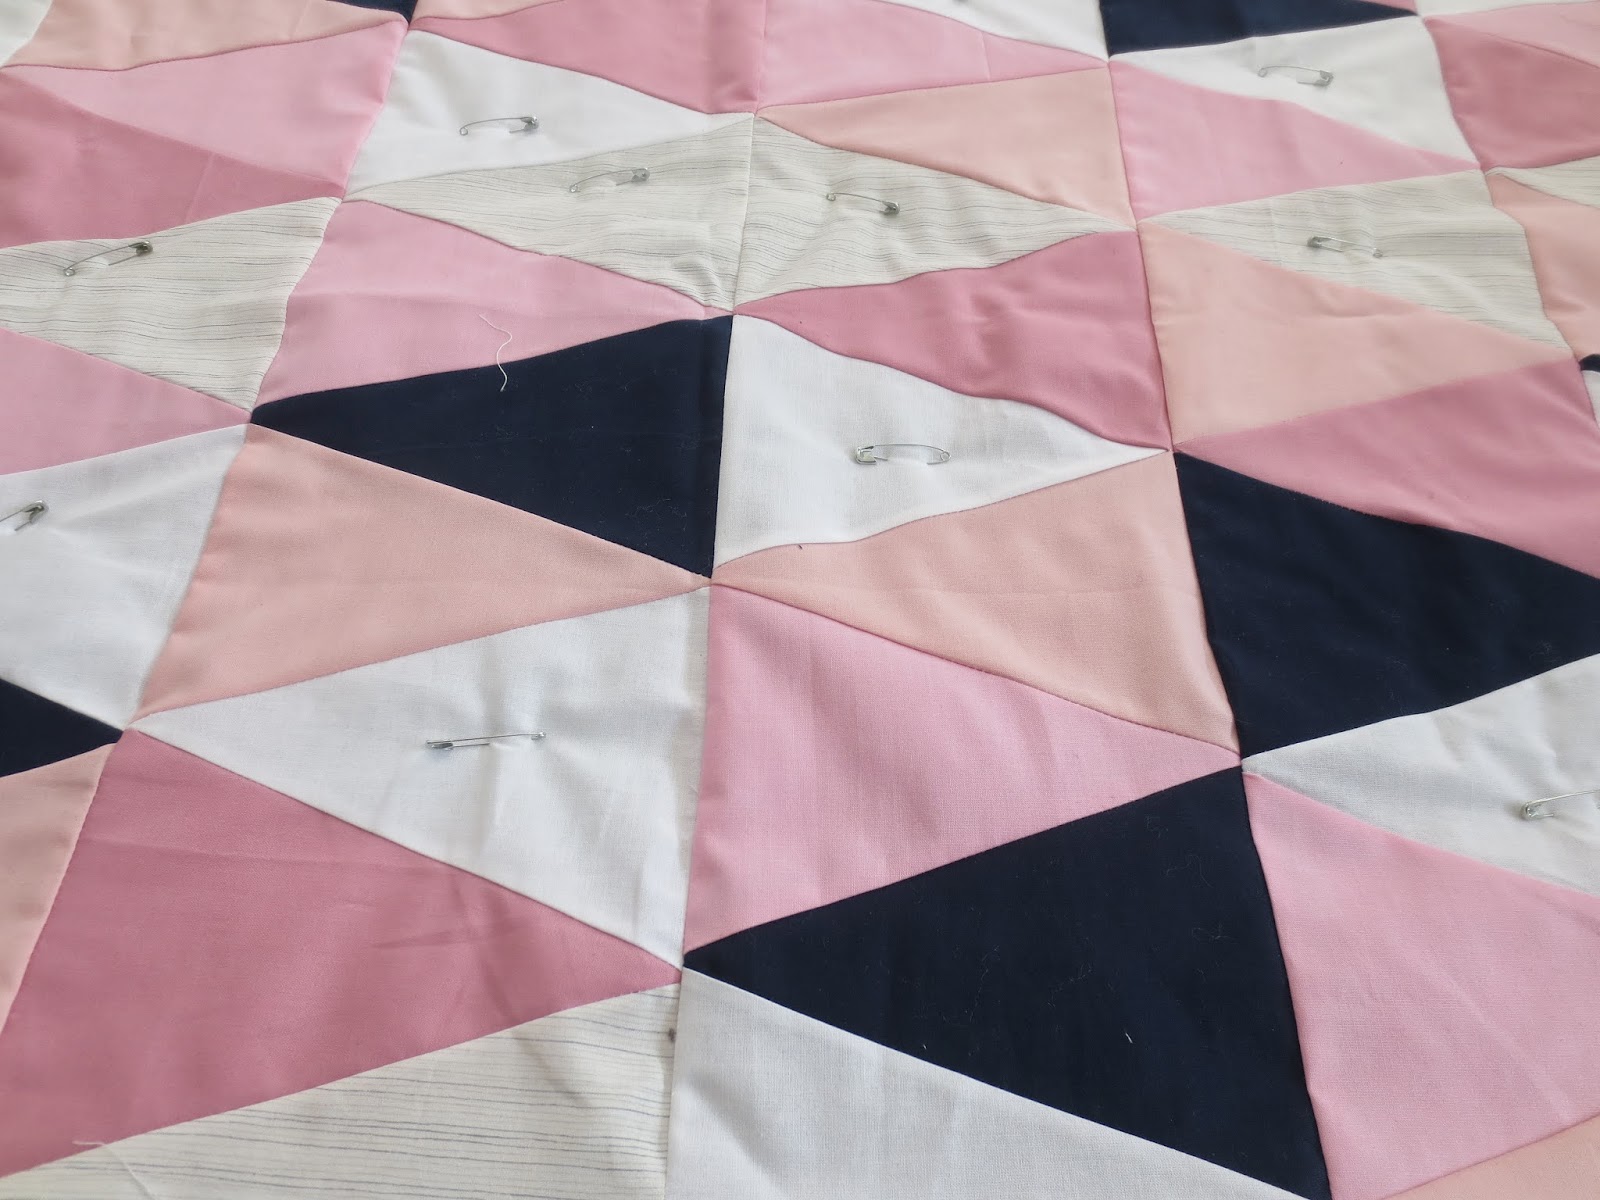
Next lay the quilt batting on top of the back fabric (you want the batting and the back fabric to be about 2 or 3 inches bigger on all sides than your quilt front! Then lay the front of your quilt on top of the batting.
Once you've pinned down all your necessary triangles you are going to sew around all the triangles you've pinned starting in the Middle and working your way around to the ends. you will avoid fabric bunching up if you start in the middle.
Here's one finished triangle:
Once I finished sewing down the triangles I put the blanket back on the floor and trimmed off the excess back fabric and batting.
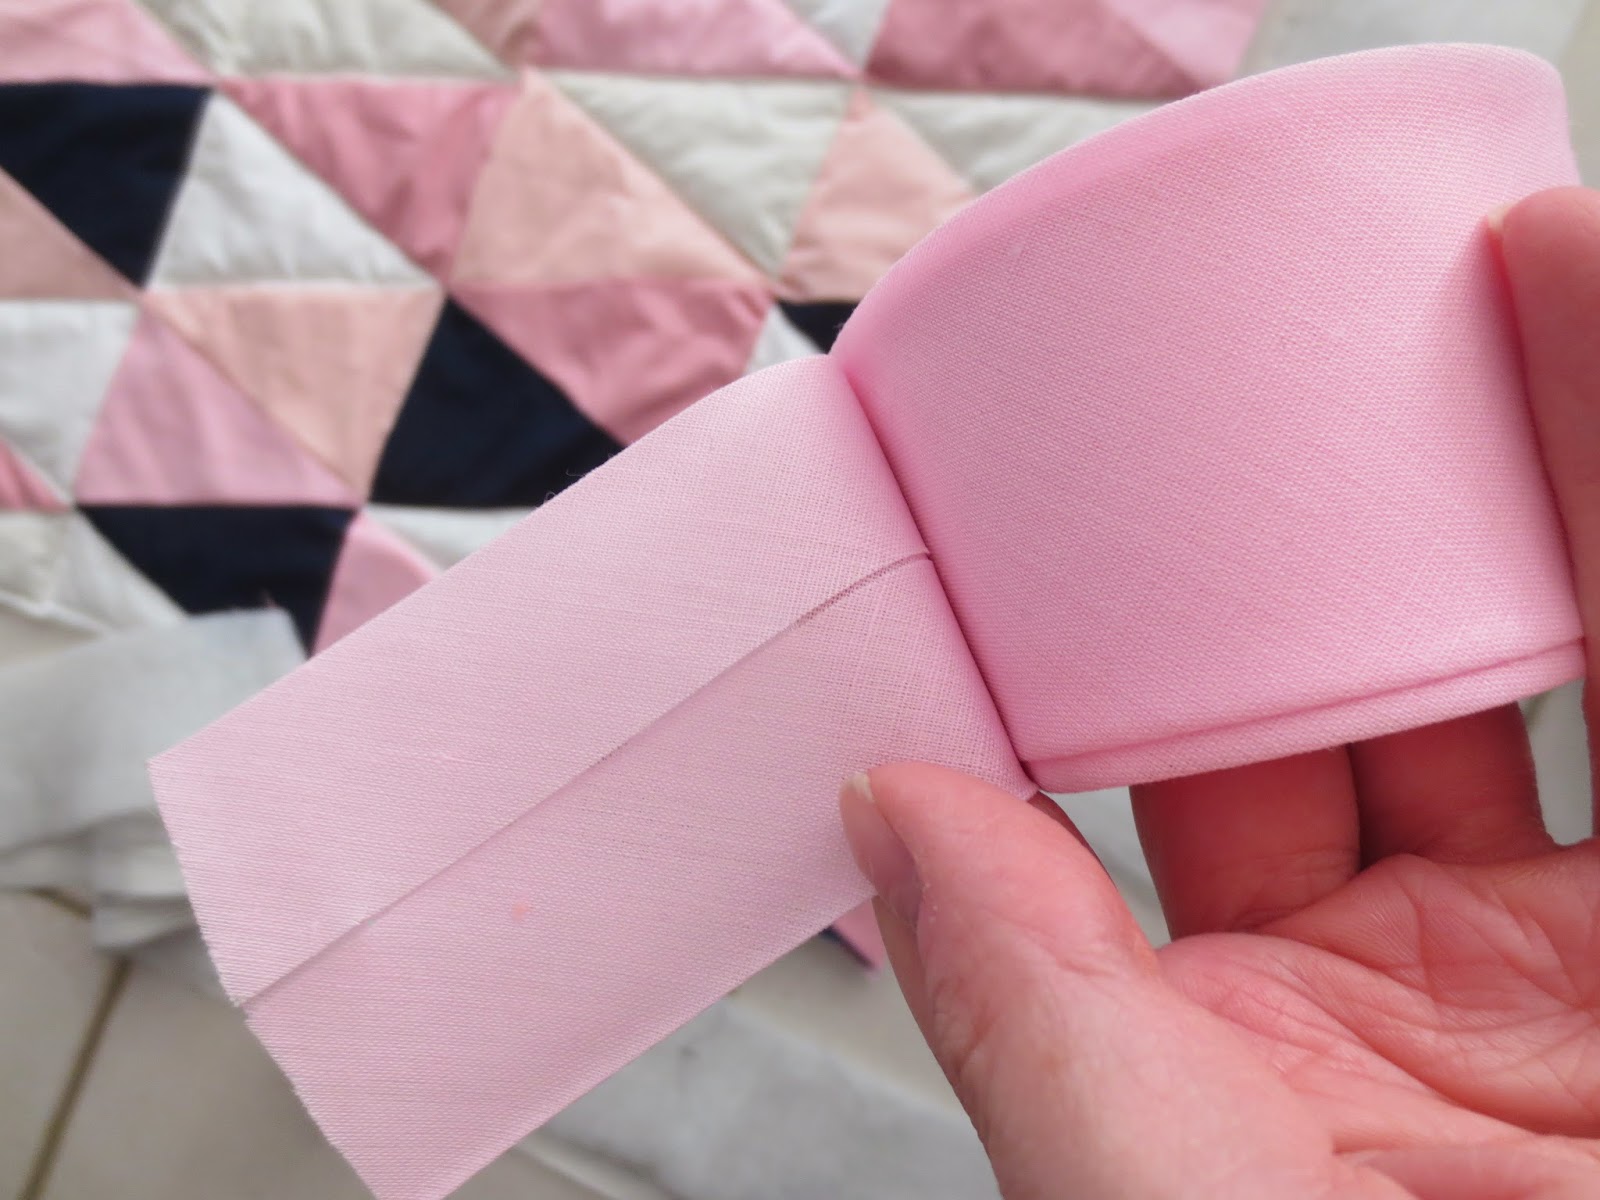
To bind my quilt together on the sides I bought some wide bias instead of making my own (lazy...but so much easier!).
I attached it to the edges of my blanket using pins and making sure the bias was always covering all three layers of the quilt.
Then take it back to your sewing machine one last time and sew the bias in place. You're done!
Here's the finished quilt! Since the baby will be sharing a room with our son we haven't actually prepared anything in the room yet so in the mean time the blanket is just hanging out on our living room couch:)
Here's what the back looks like.
Thanks for stopping by and I hope some of the instructions were helpful for some of you!


Tu es trop forte!! :) Ca t'a pris combien de temps en tout?
ReplyDeleteMerci Iris! Je dirais que j'ai passé 3 ou 4 jours complet sur ce projet, 1 jour pour couper tout les triangle, 1 jour pour les assembler et 1 jour pour assembler les 3 couches du quilt. mais en gros il m'a fallut 3 semaines pour le faire parce que j'ai passé un jour par semaine dessu:)
DeleteWonderful Emily!
ReplyDelete