I've been wanting to make a planter or a tool box for some time now, lately my husband has been busy programming a chess game on the computer so figured I should do something productive as well. Plus my kitchen table really needed something cute:)

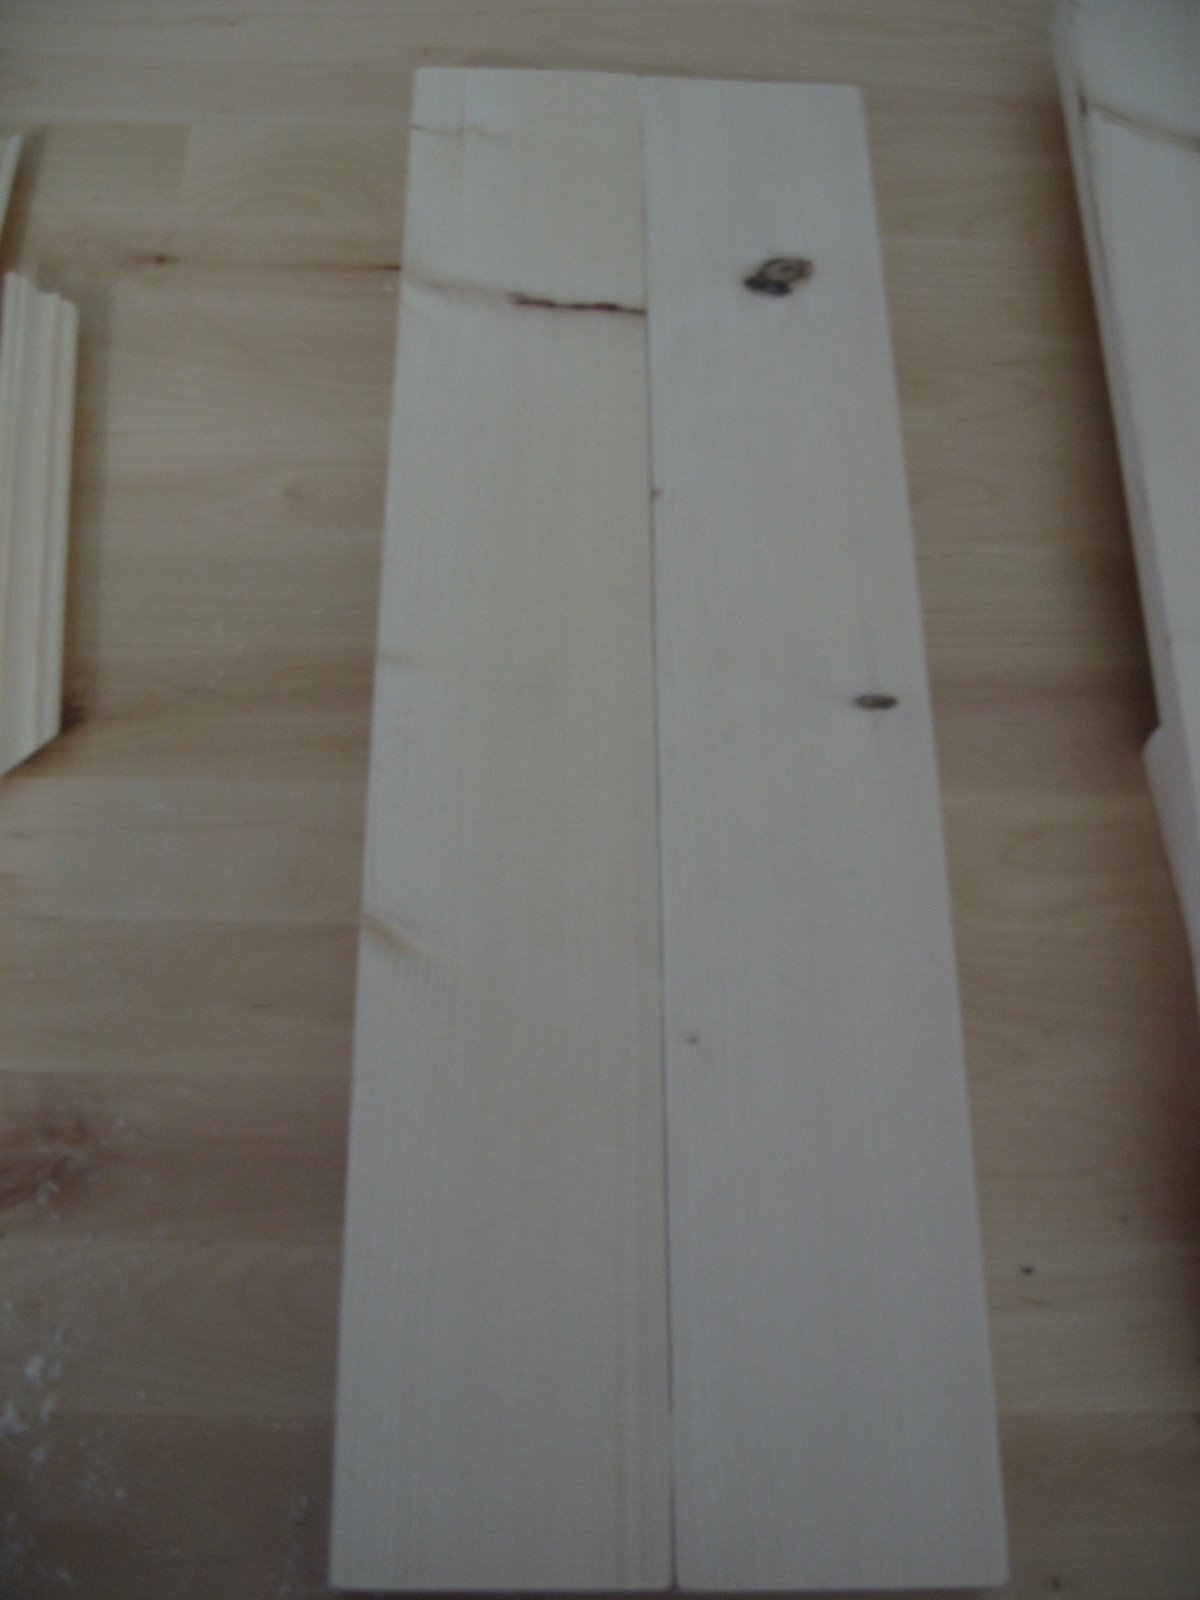
Here's how I made the planter. I bought a 2.5meter long (and about 14cm wide) wood plank and had the guy at the store cut it into five 50cm pieces. When I got home I measured and cut the two smaller pieces with my miter box to go on the shorter sides of my planter.


I just used wood glue to glue two long pieces together.
Then I added the long sides to the top of the base.


I tried to tighten the sides as much as I could to minimize the gap but in the end I still had to use tons of wood filler.

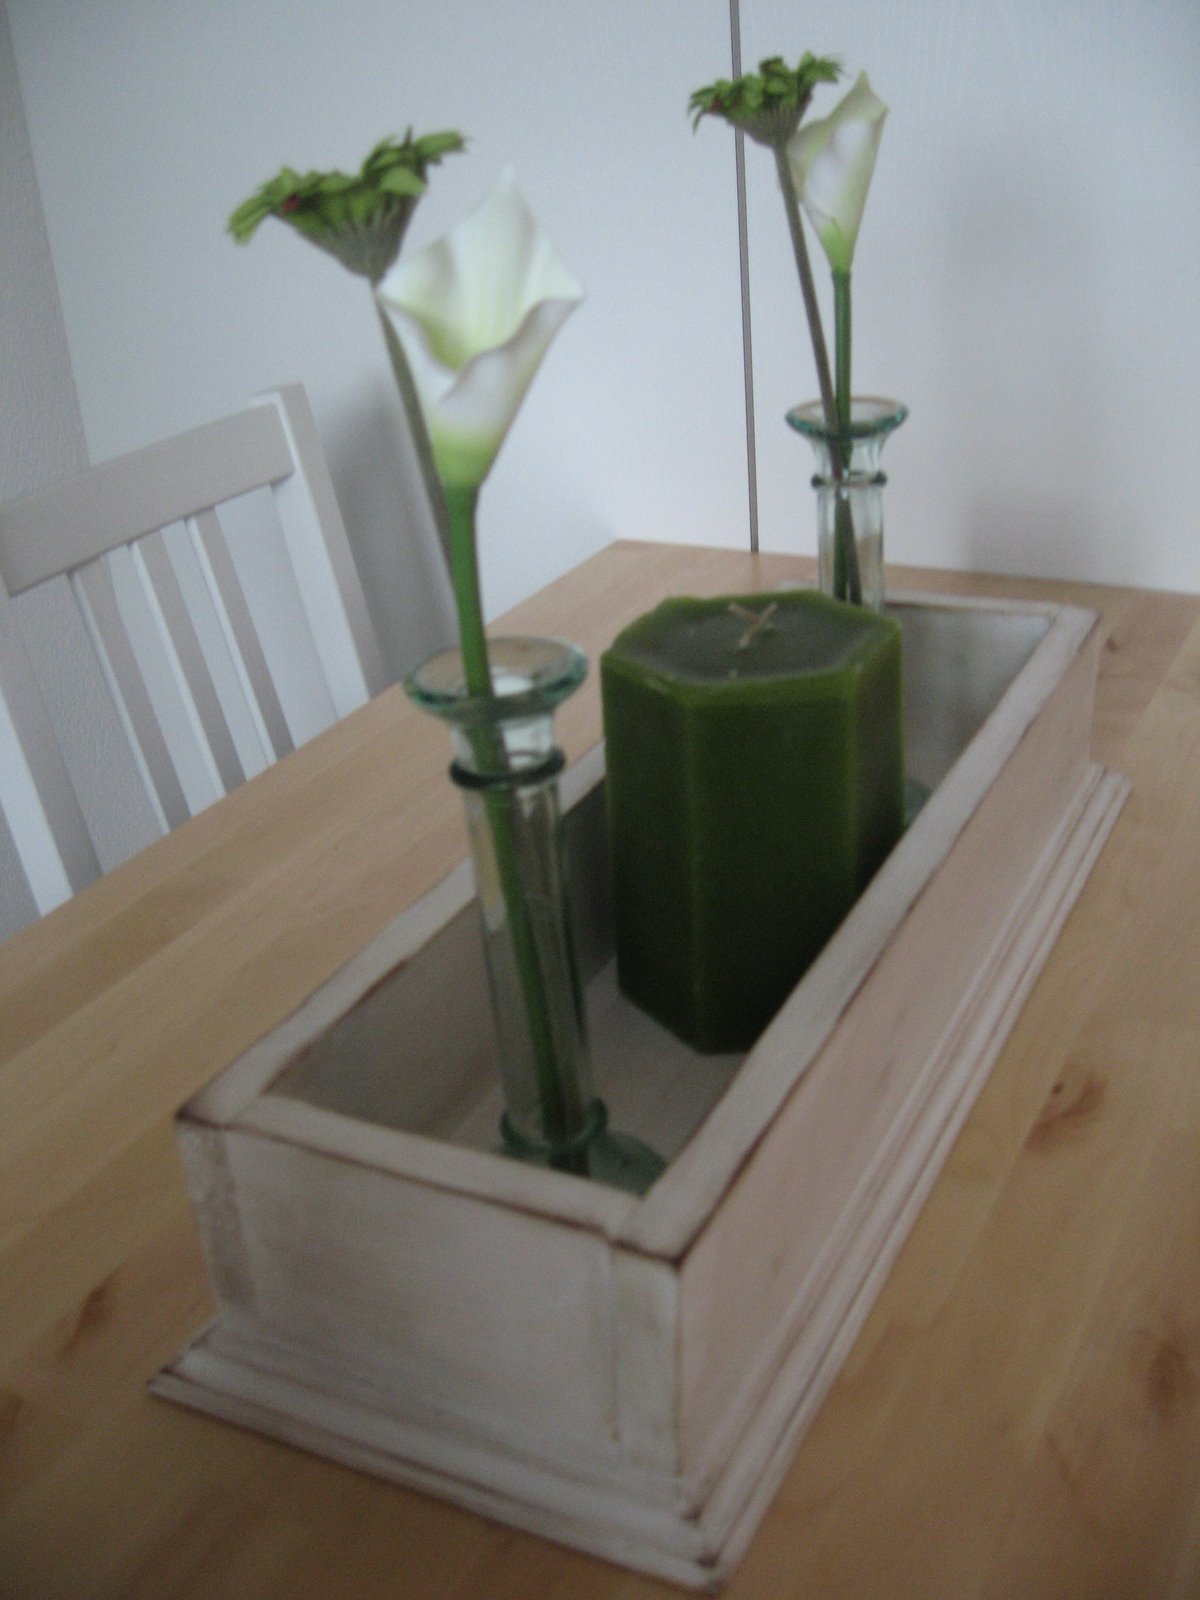
Once the glue was dry I added the molding to the bottom just like a frame. I gave the whole thing two coats of white acrylic paint, then I sanded it down on the sided and added some walnut distress ink with a sponge so the molding would stick out more. My kitchen is mostly white but there a few touches of green so I stayed with that theme.


I really like my planter, it's just what my table needed! Hope you enjoyed the tutorial!
Linking up to these parties:


No comments:
Post a Comment