Wednesday, July 20, 2011

Fancy DIY planter

I've been wanting to make a planter or a tool box for some time now, lately my husband has been busy programming a chess game on the computer so figured I should do something productive as well. Plus my kitchen table really needed something cute:)

Here's how I made the planter. I bought a 2.5meter long (and about 14cm wide) wood plank and had the guy at the store cut it into five 50cm pieces. When I got home I measured and cut the two smaller pieces with my miter box to go on the shorter sides of my planter.

Then I cut my molding to go around the bottom of the planter like frame. I'm still not very good at this so once it's all glued together I usually have to add A LOT of wood filler to cover up my mistakes.

I just used wood glue to glue two long pieces together.

Then I added the long sides to the top of the base.


And then my two short end pieces..of course they did not fit properly at all, I think I need a new miter box, it's too worn and doesn't cut straight anymore....someday I'll have an electrical one:)


I tried to tighten the sides as much as I could to minimize the gap but in the end I still had to use tons of wood filler.

Once the glue was dry I added the molding to the bottom just like a frame. I gave the whole thing two coats of white acrylic paint, then I sanded it down on the sided and added some walnut distress ink with a sponge so the molding would stick out more. My kitchen is mostly white but there a few touches of green so I stayed with that theme.


I really like my planter, it's just what my table needed! Hope you enjoyed the tutorial!


Linking up to these parties:


Wednesday, July 13, 2011

I want one of these!!

At the beginning of the month we were in Paris for my brothers wedding so the day after we decided to visit the city and I came across this at a book store:

An old wooden french wine box. It was just prefect and my mind was going 100mph thinking of what I could do with it. So my mission and everyone elses that was with us that day was to find a wooden wine box....


...well, we got a bit side tracked after a bit, there is just so much to see in Paris! That's ok though, my parents live in France and there is a wine store right by their house...I'll just go beg next time I'm there:)

The wagon wheel

In the previous post I finally showed you that old wagon wheel again which I bought in February, I worked on it on and off for about 3 months and in the end decided I really didn't like the finished look and I just put it away until I started decorating my IKEA shelf for the summer. So here's what happened to the wheel before it finally ended up on that shelf.

I started by cleaning the metal frame, I just used sand paper on all the metal parts, dont worry it is normal for the metal to actually look more rusty than it did before.


Then I put masking tape on all the wood areas that are close to metal.


I used black paint to paint the frame and the metal in the middle. Actually now that I look at this again I think the wheel looks fine like this! But I didn't leave it alone...I had big plans for this baby...
I had this nice turquoise varnish, I wanted to paint all the wood that color and then hang the wheel on one of the walls in the dinning room area and add the letter N E S W around it to make it look like a compass I probably would have added an inspirational quote as well. Anyway, when I saw what the varnish looked like on the wheel I was very disappointing, I think the wood was just too old and had so many holes in it that it just absorbed most of the varnish. I think I did three coats and it still looked yuk.


So then I painted it off white...I didn't like that I either so I sanded it down to make it look old again but I still didn't like that so I started staining it with a walnut stain.
Until it looked like in this last picture. I really hated it, I didn't have anywhere to put it and it was so far from my original idea that I just put it away and didn't think I'd ever use it...until summer came along, now I actually like my wheel! Ok, I could have done a better job of covering the black parts with masking tape during my project but I was so fed up with that wheel that I didn't even bother anymore...oh well.

Posted by Picasa

A bit of summer

I've been seeing a lot of yellow and blue for summer this year and thought I'd give it a try, plus I needed something to go on that IKEA shelf (which I can't wait to get rid of). I used the mirror I'd found in Germany again but this time I opened the little shutters.

I also kept my little fence in the back because I like the color of the wood, it looks a bit old and has a beach feel to it, in my opinion.

It was hard to find something yellow that I liked so I just bought some cute tiny daffodils and glued them to a few branches.

I used two Jane Austin books here that were just the right color for my decor. I added some chicken wire to a frame after removing the glass and used a clothe pin to attach a picture to the chicken wire. The wagon wheel in the back was a thrift store find which I mentioned in an earlier post which I cleaned up and painted. Hope you enjoy!

Posted by Picasa

Monday, June 6, 2011

cabinet door tray

I've been seeing a lot of projects on blog land using cabinet doors, sadly I can't just buy closet doors here so I finally decided to just make one.


I bought a rectangular piece of pine, some molding and two handles. You'll also need a saw and a miter box, as well as paint, wood glue and strong contact glue.
Start by measuring what size you want the middle part of your door to be and then cut the molding using the 45 degree angles on your miter box.

Then using wood glue just glue the molding into place.

Fill any cracks with wood paste (read the instructions on the box).

I started by painting my tray dark brown.

Then I went over it with an off white. once that was dry I sanded the edges and the molding, then only part I didn't sand was the middle of the door inside the molding. Then I glued my handles to the door.

I wanted yellow and aqua for the decoration, the only thing I had to buy were the flowers. I really like how it turned out.

I think it goes well with the turquoise canvases I have on my wall!


Thursday, June 2, 2011

Pottery Barn Knockoff

I came across a picture of this really cool clock face from pottery barn in this tutorial on the Tatertos and Jello blog. I wanted mine to look more like the one from the magazine though .

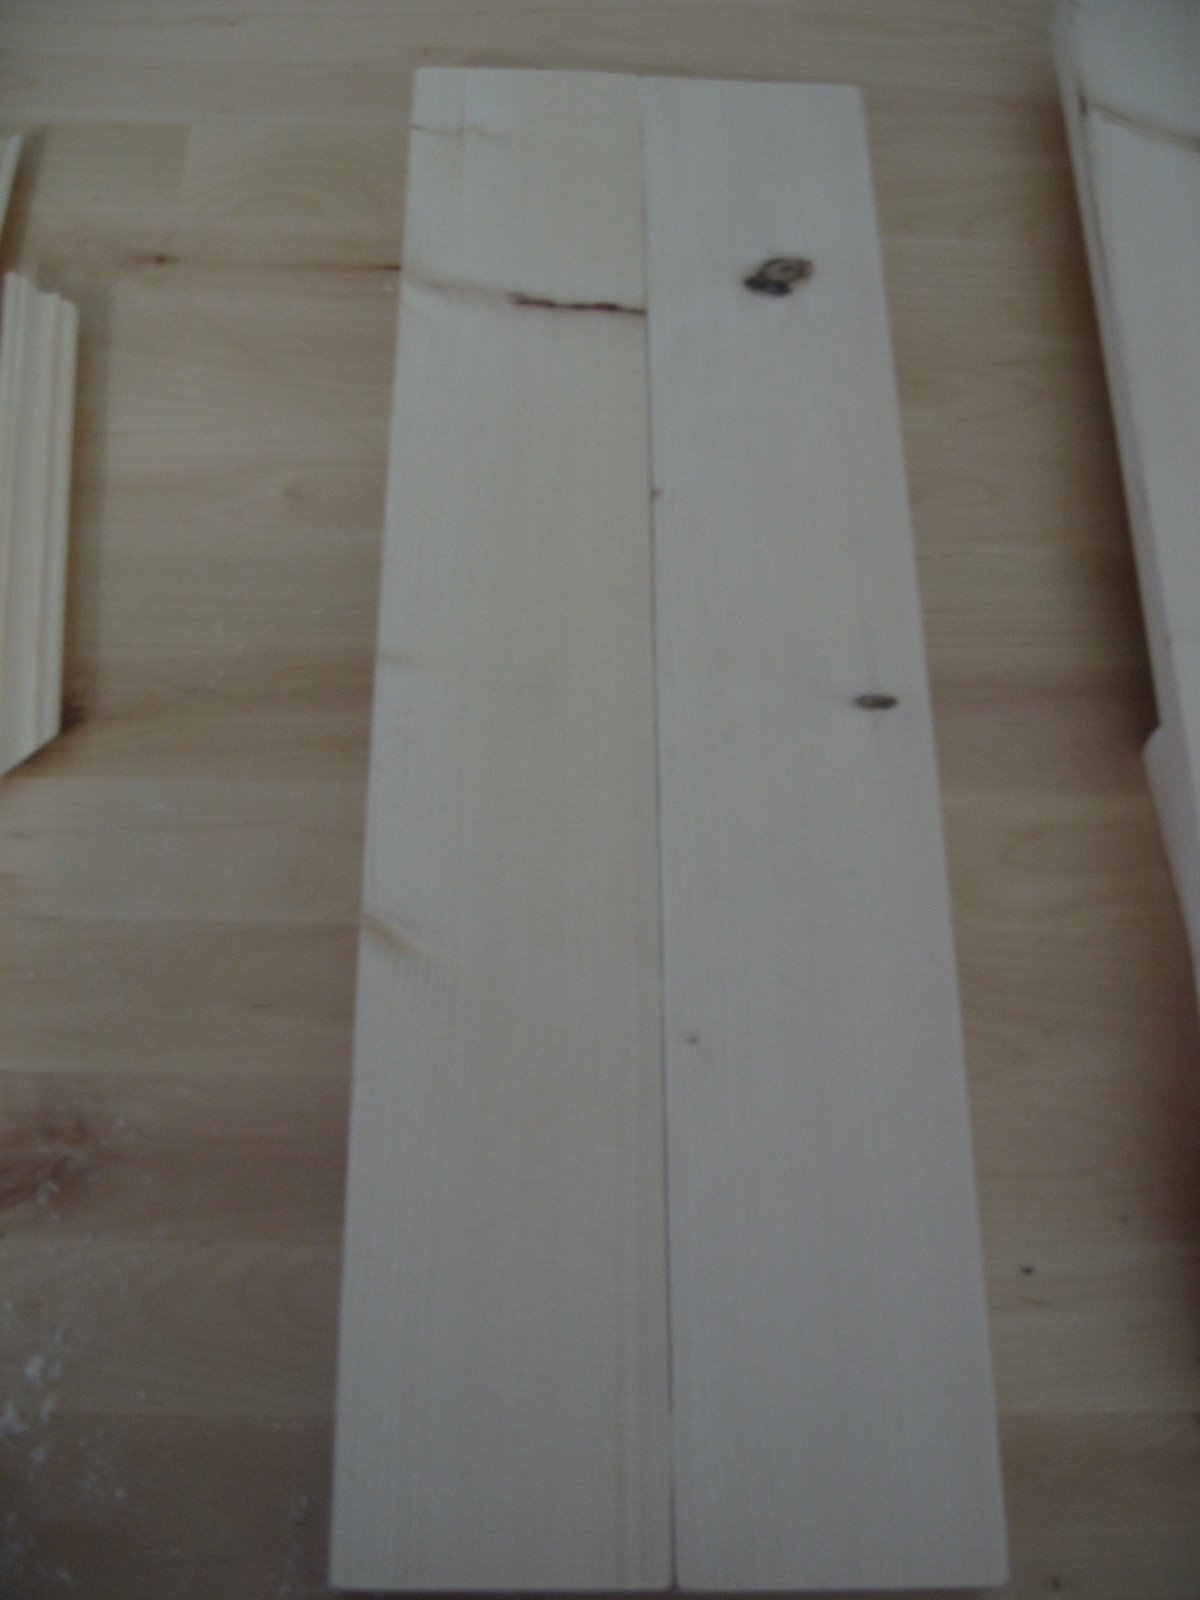
All I bought for this project was a square piece of pine wood, everything else I had on hand. Here's what you'll need:
*A square piece of wood, any size you want
*a napkin that has three layers
*mod podge
*paint
*distress inks
*roman numerals stencils (you could print some off the computer and trace around them)
*round objects you can use for tracing circles
*brads or eyelets


1. First apply a coat of mod podge to your wood and lay down one thin layer of tissue ( I just used one napkin and separated the three layers and glued them individually).

2. let dry a bit and add more mod podge and glue another sheet of tissue. Repeat a third time. by gluing them individually you get more crinkles.

3. Paint your first coat, I used dark brown acrylic paint. Let dry. It had this really awesome leather look:)

4. Apply your top coat, I used an off white acrylic paint. Let dry and lightly sand over the top to reveal the bottom coat here and there.

5. Use distress inks with a sponge to add color, I used walnut and peeled paint which is a green color. You might notice that there are brown splotches on my clock face, that's because I used a stain at first that didn't work well at all, I also messed up the last circle and had to start all over again so the second time around I didn't use the stain and just used the distress inks. I'm glad I messed up the first time:)

6. I used one of the kids plastic plates to trace a circle in the middle, then I stuck my numerals around the circle. I traced about them and filled them in with a sharpie. Then I traced a circle around the outside of the numerals, finding something the right size was almost impossible, this is where I messed up the first time, I kept trying to fix my circle which just looked worse and worse ( I ended up just painting the whole thing off white again and started over). To finish it off, I lightly sanded over all the black sharpie numerals and circles so they wouldn't shine so much, it looks a lot better that way. I flattened some eyelets and brads for the small middle circle and to put over the numbers.

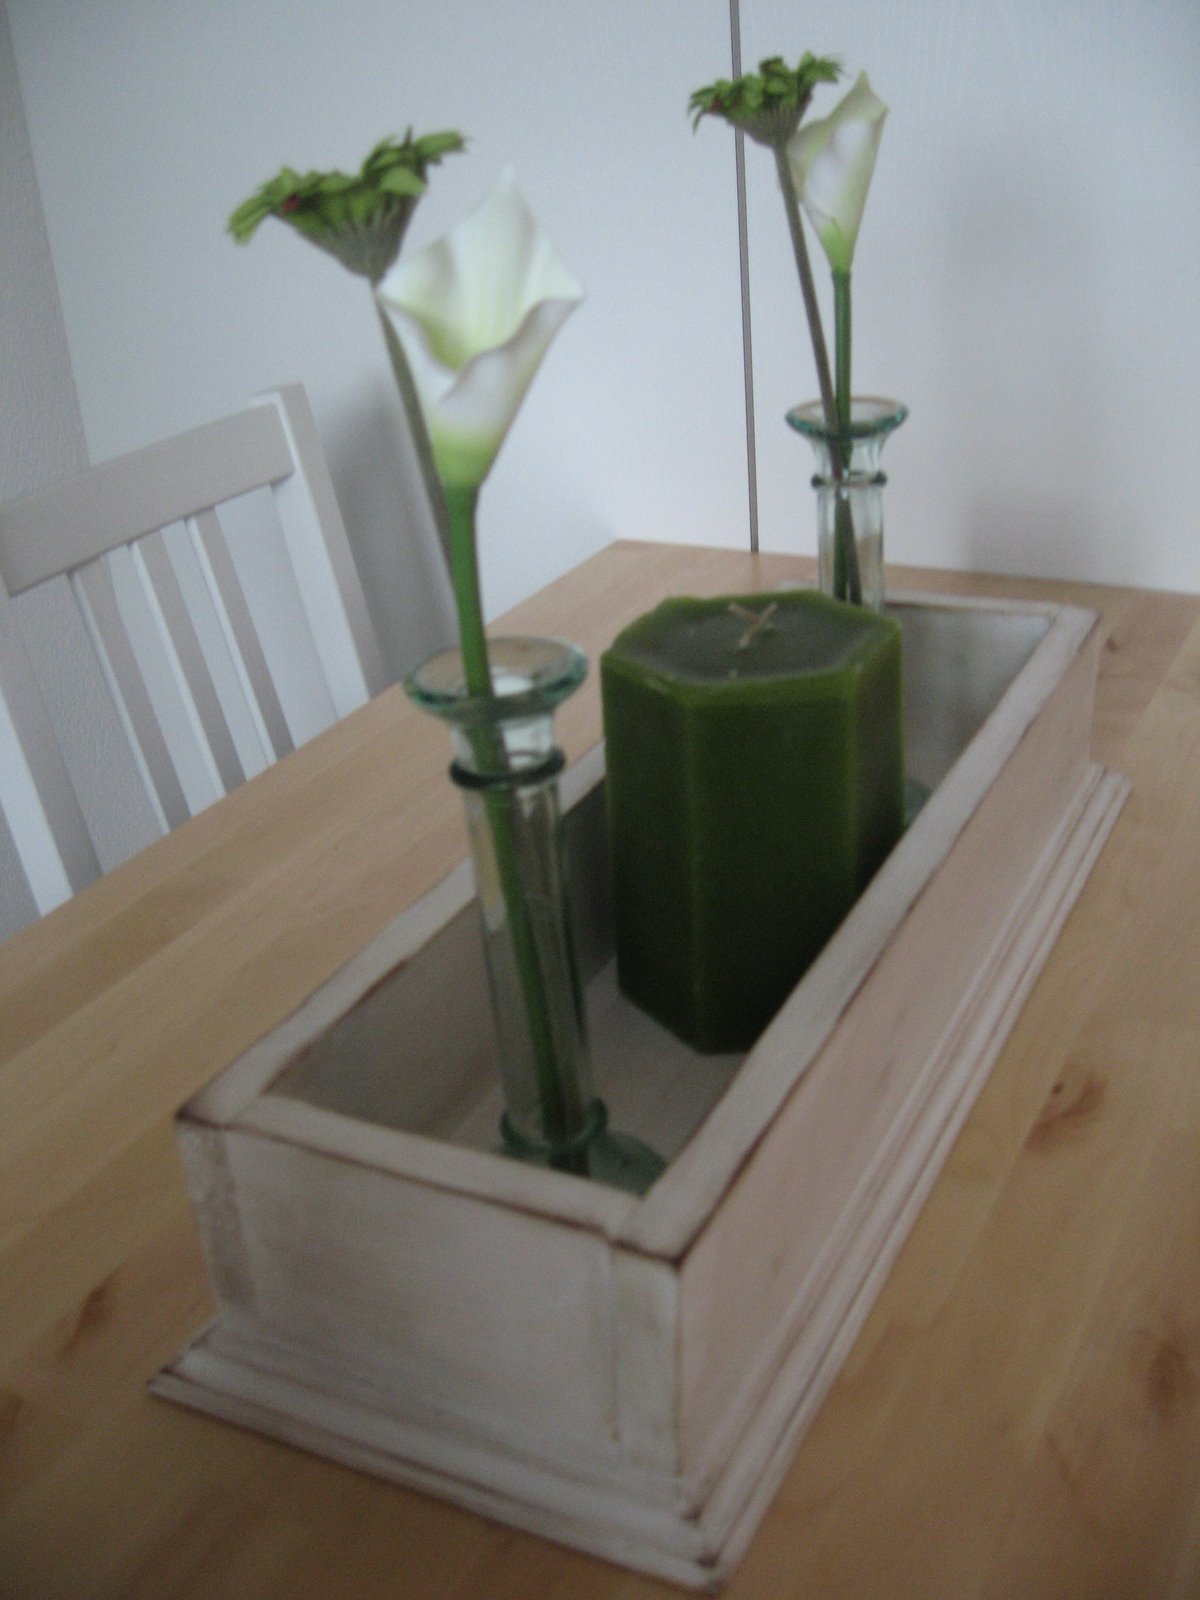
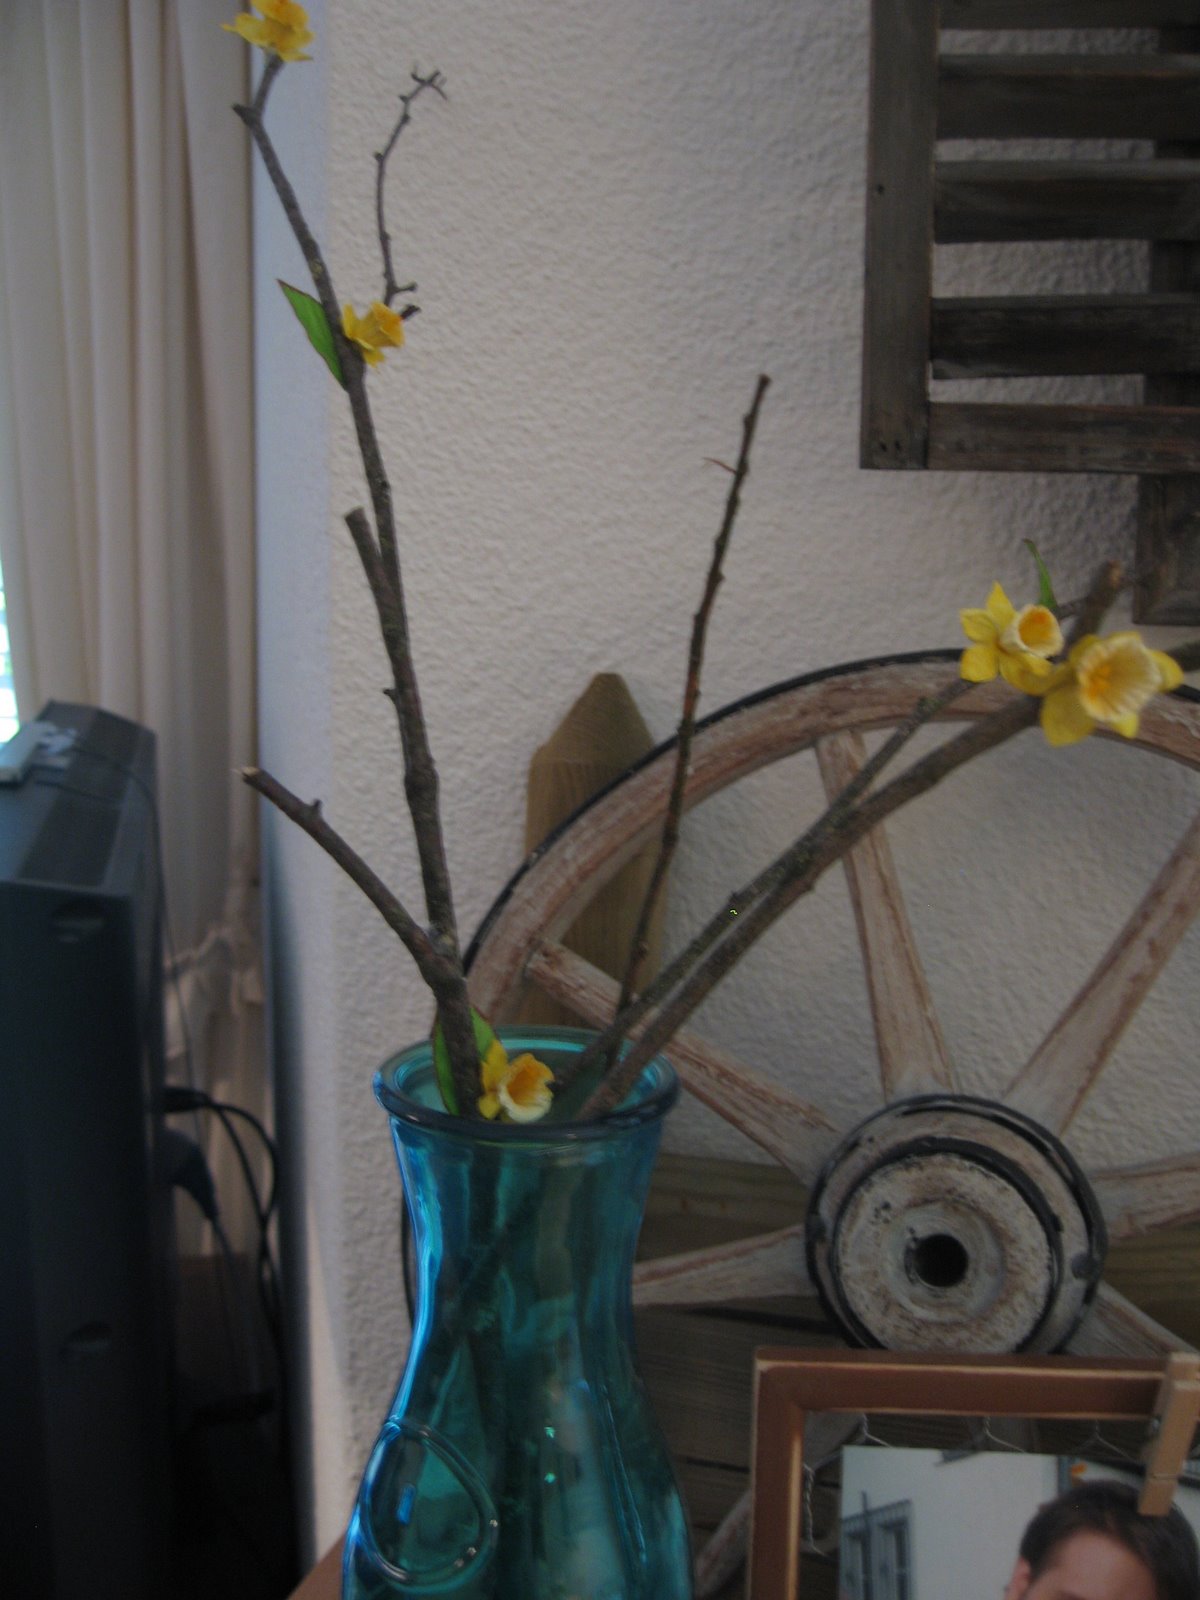
I really like the finished look. My apothecary jars go perfectly with it. By the way I made those jars just by gluing mason jars on top of some IKEA candlesticks and adding a little knob to the top of the lid!

If you give it a go send me some pictures!!!


linking to:
http://somedaycrafts.blogspot.com/
http://nightowlcrafting.blogspot.com/

Transformation Thursday


http://www.iheartnaptime.net/